
|
xTuple Admin Guide |
If you want to install a web-enabled version xTuple, select the sixth option in the menu. You will have already needed to create a database.
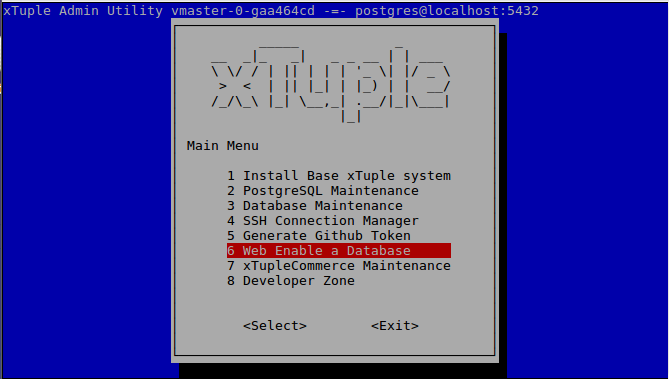
xTAU install web-enabled xTuple
It will take awhile to run the command, but once its finished, you will be prompted to name the new cluster for this installation. PostgreSQL will need to be installed.
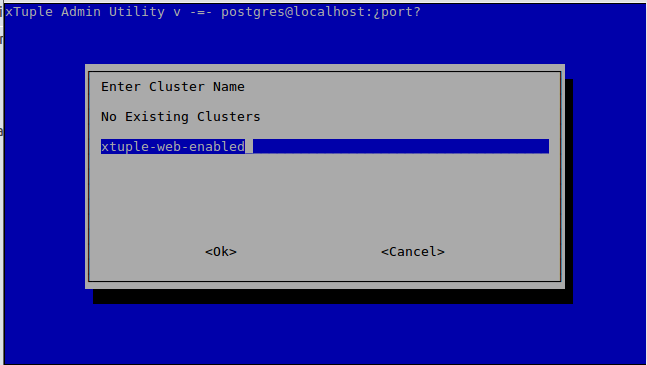
xTAU enter name for new cluster
Then select the database port for this cluster. Remember, each cluster must be assigned to a unique port.
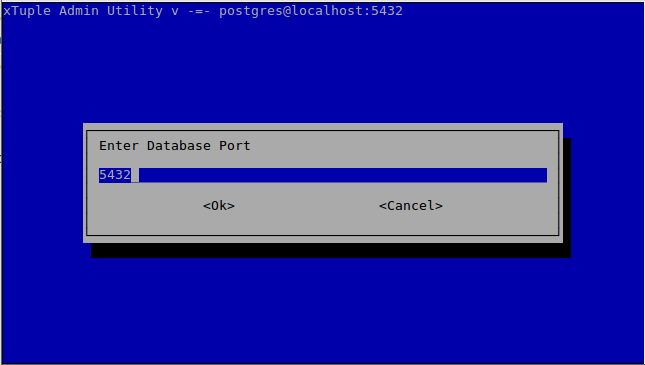
xTAU enter port to assign to new cluster
Decide if you want this cluster to start automatically when the machine is booted.
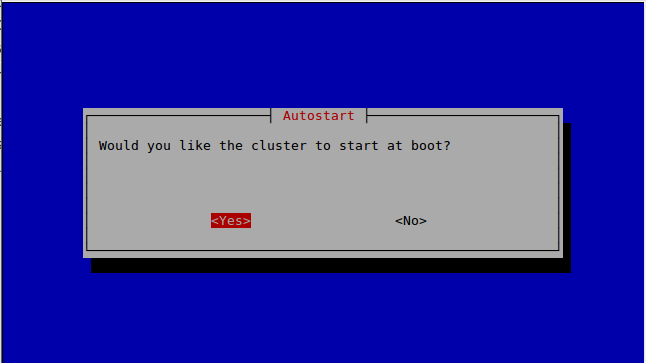
xTAU start at boot
For web-enabled installation, you must select the host name and domain where the web client will be found. You can enter any character string you want in here and it will be used with the domain that you enter on the next step to form the full URL of the mobile web client. For example, if you enter "mobile" below, and "xtuple.com" on the following screen, the full URL will be "mobile.xtuple.com".
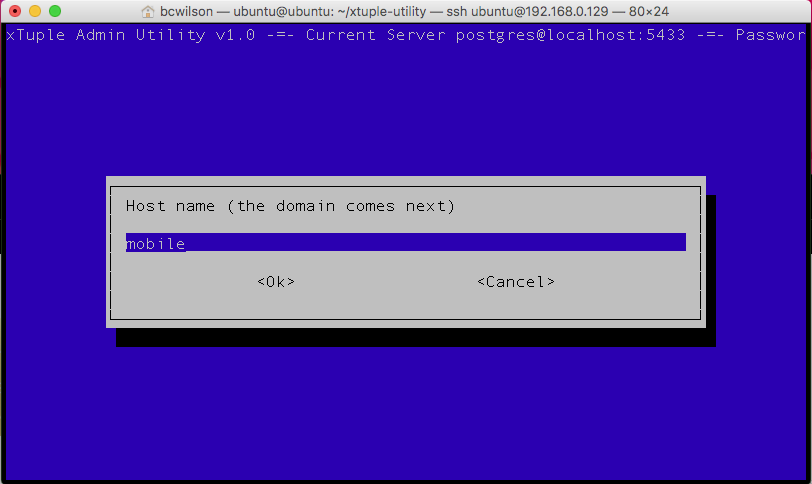
xTAU host name
Now enter the domain name
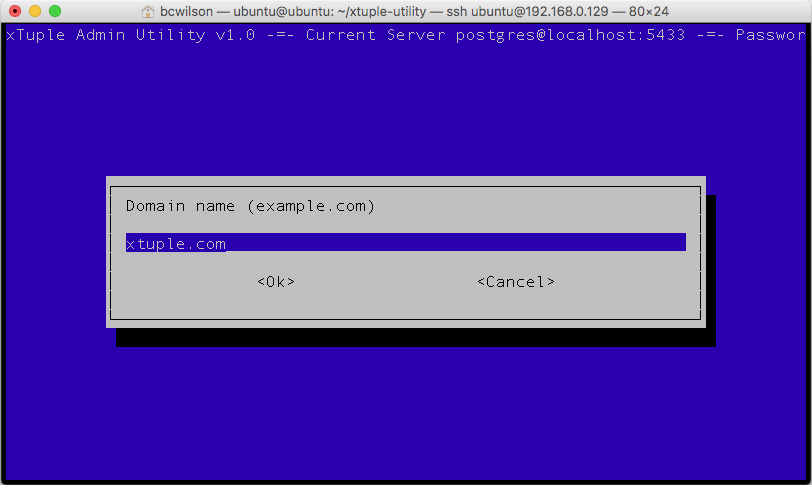
xTAU domain name
Now you will need to enter the site name. This will become the name of the folder where the site config file is stored. To make it easy to remember, you might want to make it match the host and domain (e.g. "mobile.xtuple.com").
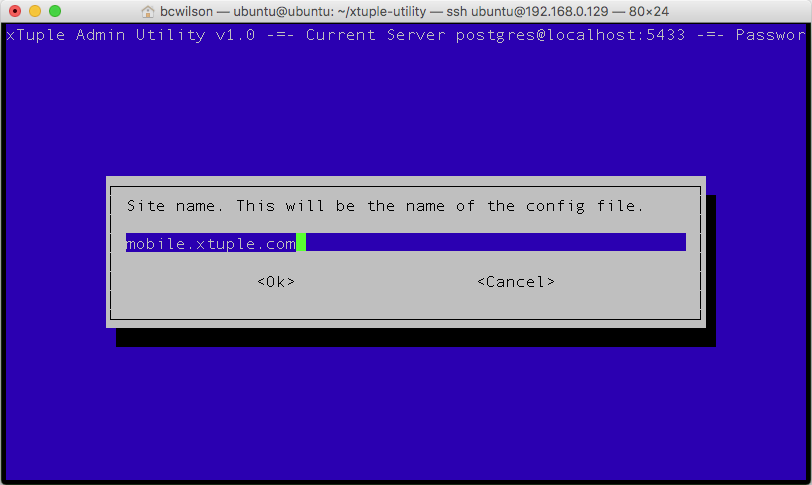
xTAU site name
Next you will enter the path to the SSL certificate.
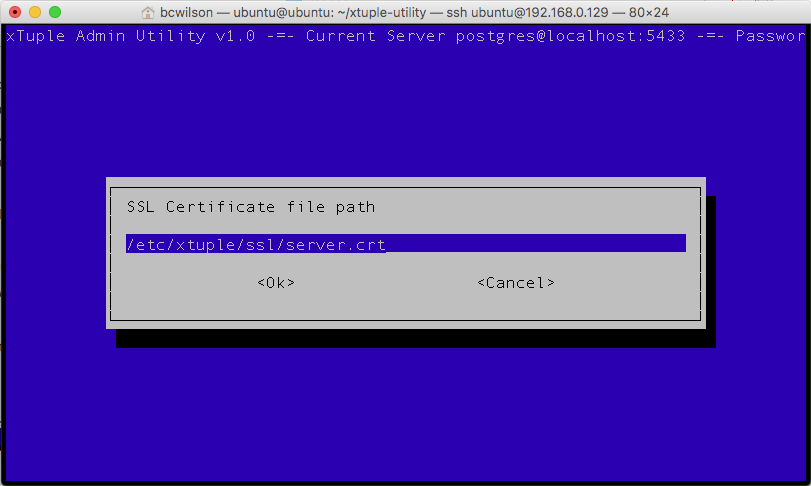
xTAU SSL certificate path
And the path the the SSL key file.
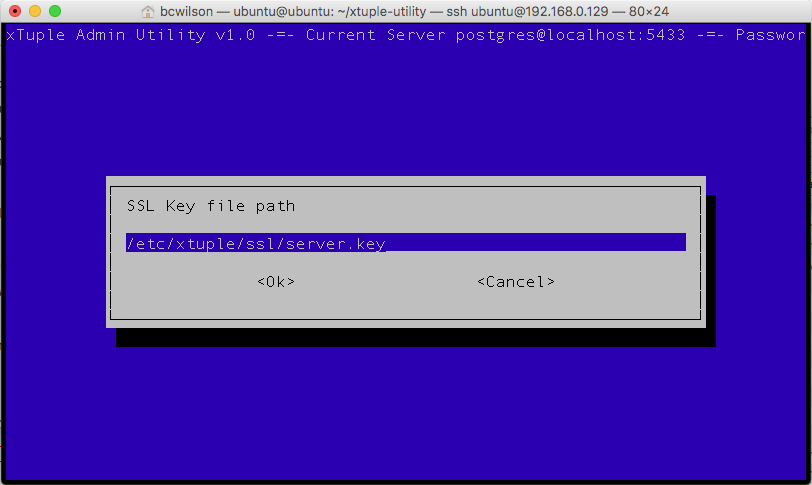
xTAU SSL certificate path
You will be prompted to enter a port number. This is an HTTP port number. You will be able to use this port number in combination with the IP address of the host machine to access the web client. For example, here the address of the mobile client will be http://192.168.0.129:8443.
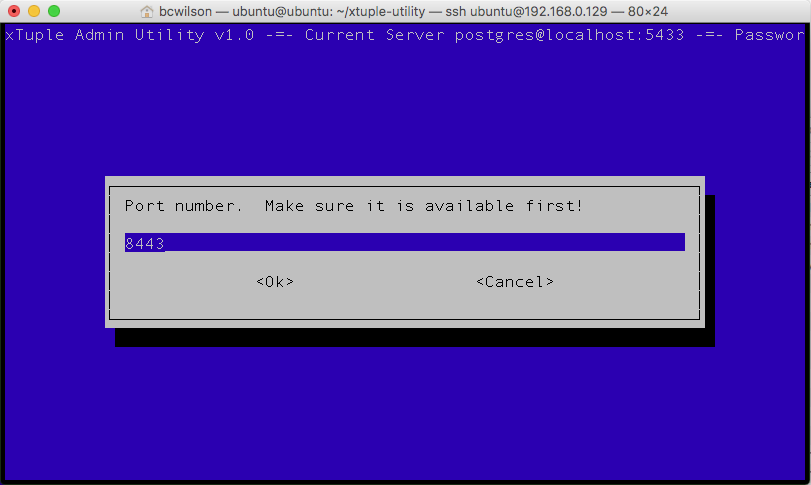
xTAU web port number
Now xTAU will set up and configure nginx, the web proxy server for your installation.
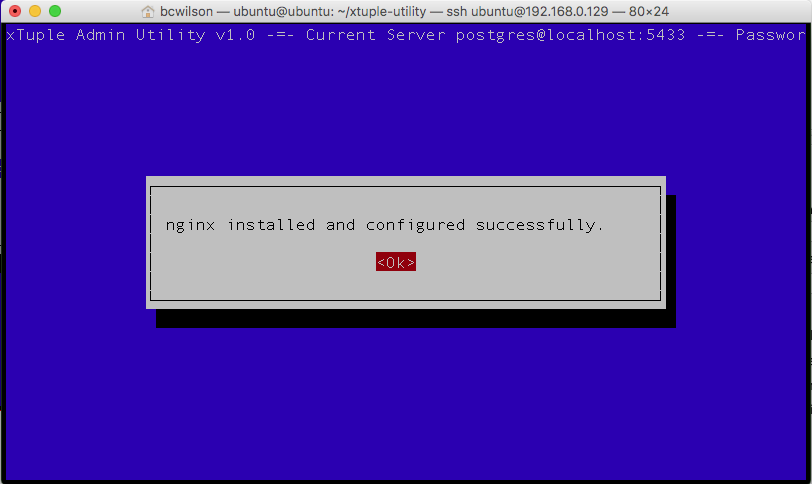
xTAU nginx complete
Click to continue. Next xTAU will ask you to select the xTuple version you want to install.
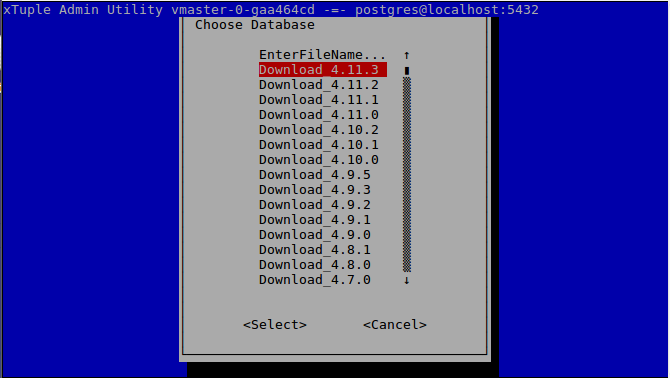
xTAU choose xTuple version
And then the database backup you want to use.
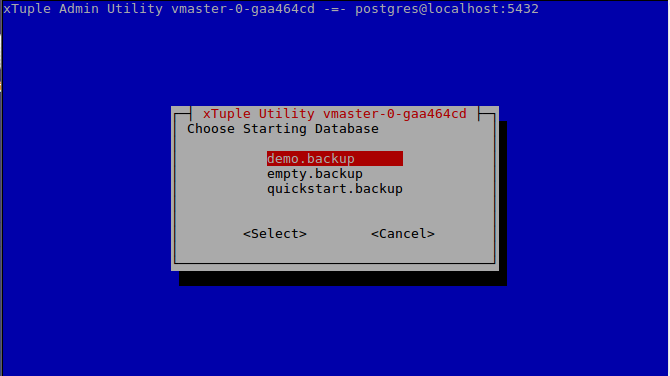
xTAU choose backup database
You will be prompted to enter a name for the new database that will be created from the backup file you just selected.
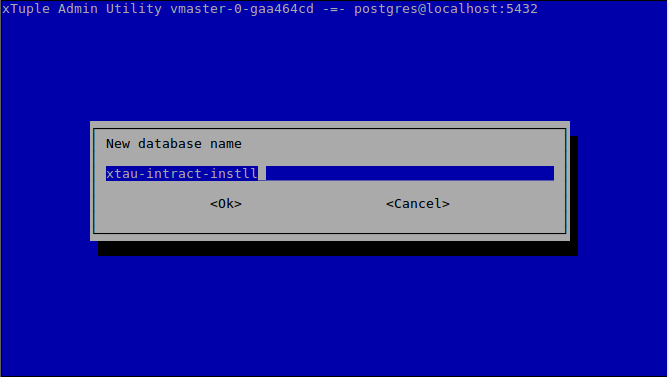
xTAU name the database
xTAU will restore the backup you downloaded in to the database you just named. It is likely that you will see an error warning message. This message occurs even for non-critical errors, however, so you can ignore it and click to proceed.
Next you will select which database on this cluster you want to web-enable. If you are running the installer for the first time, there will only be one database to select.
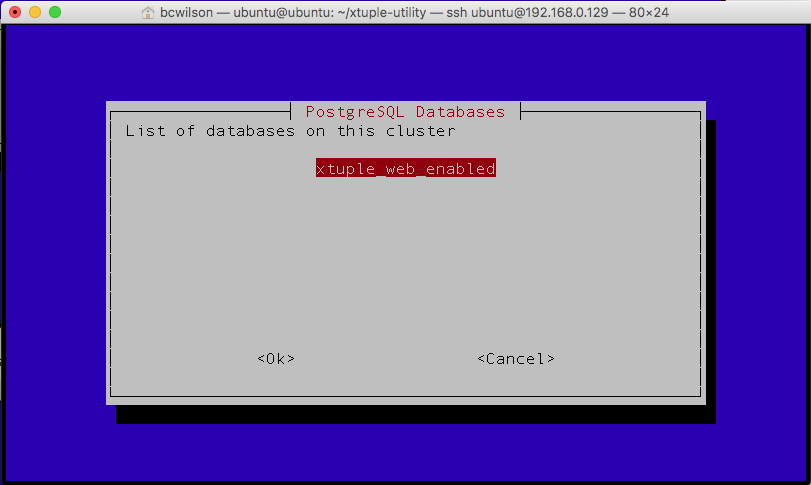
xTAU select database to web-enable
Select the version of the client you want to install. This should match with the version of the database that you have already installed.
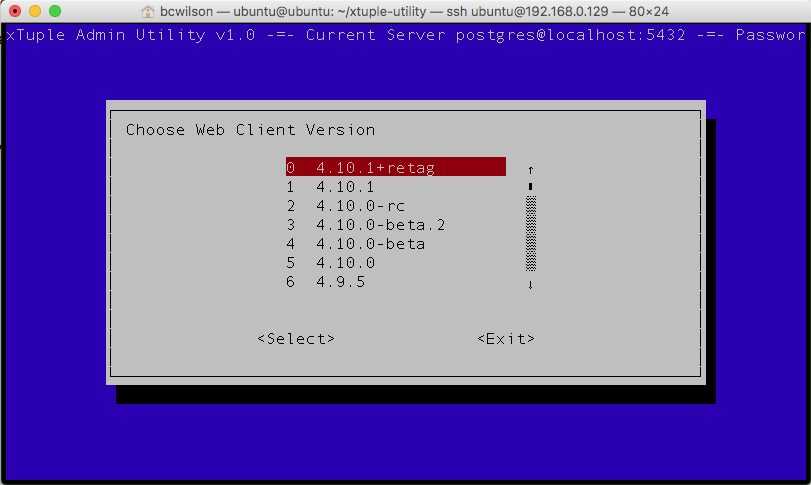
xTAU choose xTuple version
Now you must create a name for the directory where the web client code will be stored.
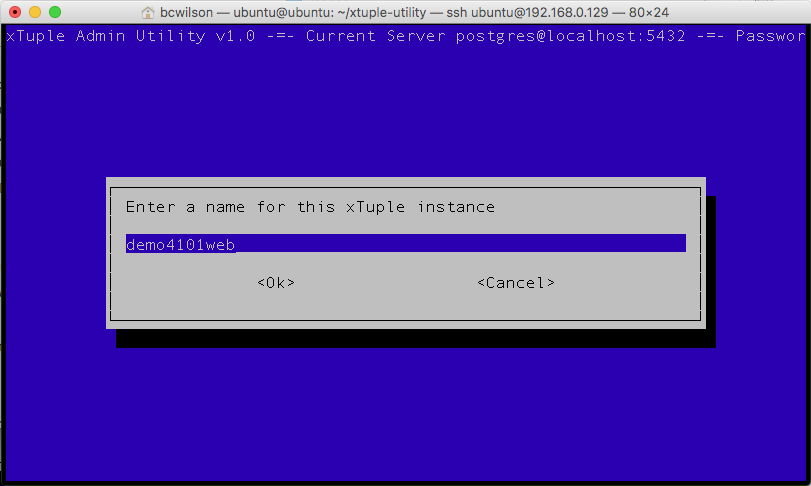
xTAU enter name for web client directory
xTAU will ask if you want to install commercial extensions. Only do this if you are a customer of xTuple with a current license for one of our commercial products, such as Distribution, Manufacturing or Enterprise Edition. You will need your GitHub credentials to be able to log in to the private repository to download the commercial code.
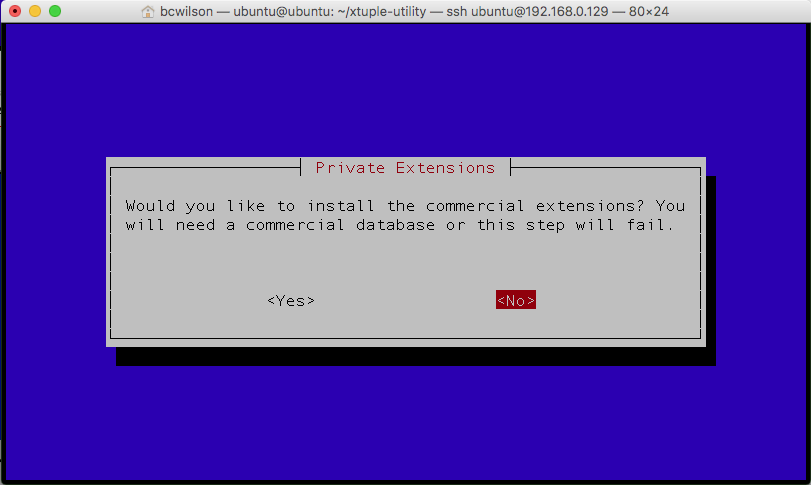
xTAU install private extensions
xTAU will now download and install all the components to web-enable your database. When finished, you will see this screen.
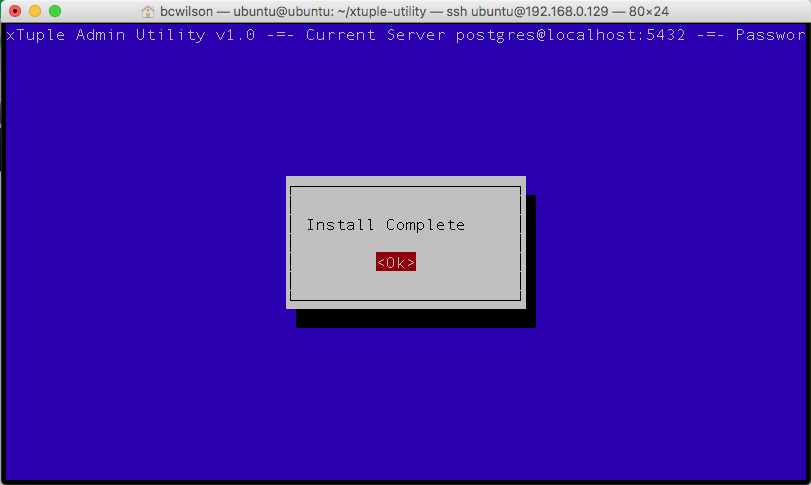
xTAU install complete
To test that your installation was successful, navigate to the location of the web client and log in. You will need to know the IP address of the machine running the web client, and append the web port number that you entered during the installation. In the example above, the web client can be found by directing your web browser to https://192.168.0.129:8443. You can log in with user: admin, password: admin. You can also log in to the database using the desktop client.