
|
xTuple Admin Guide |
|
|
xTuple Admin Guide |
| 3. Creating a New Database | ||
|---|---|---|
 | Chapter 2. Non-Web-Enabled Server Administration on All Platforms |  |
The last getting started step is to create a database and load (i.e., restore) an xTuple ERP backup file into it. The next screenshot shows how right-clicking on the element enables you to access
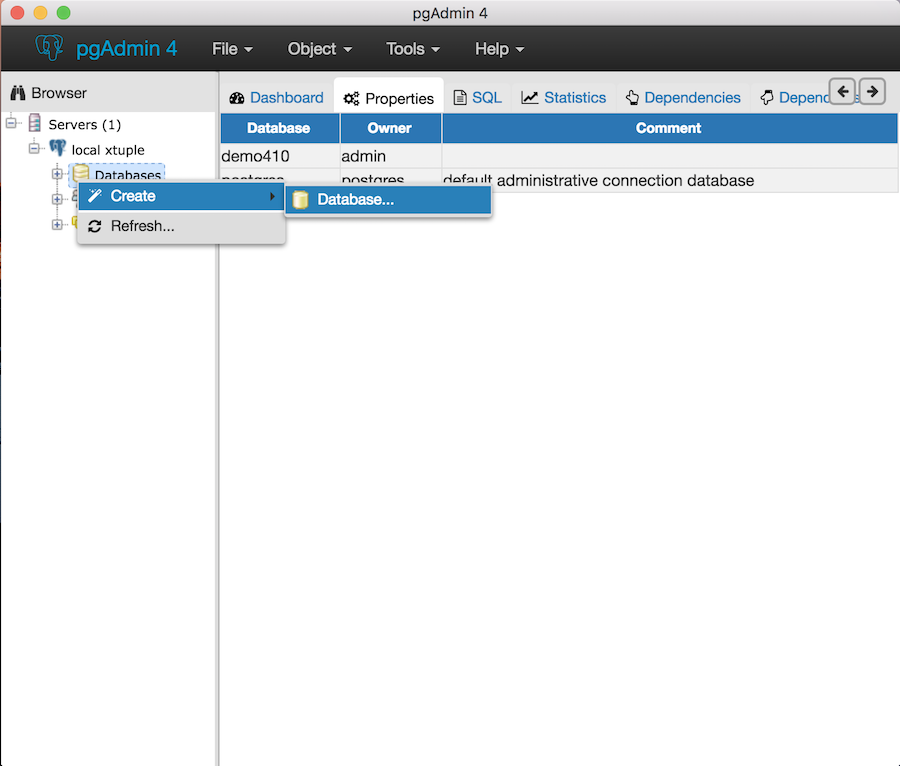
List of databases
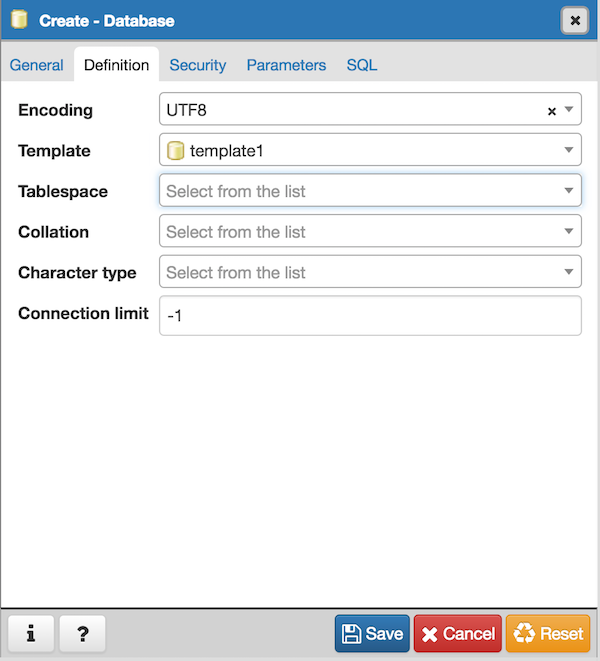
You can name your database anything you want to. In our example we will be calling our new database "dbTest". When you are creating a new database with pgAdmin, be sure to use the following values, as shown in the screenshots:
Owner: admin
Encoding: UTF8
Template: template1
You can leave everything else with the default values pgAdmin gives you. And there's no need to enter additional information under any of the other tabs.
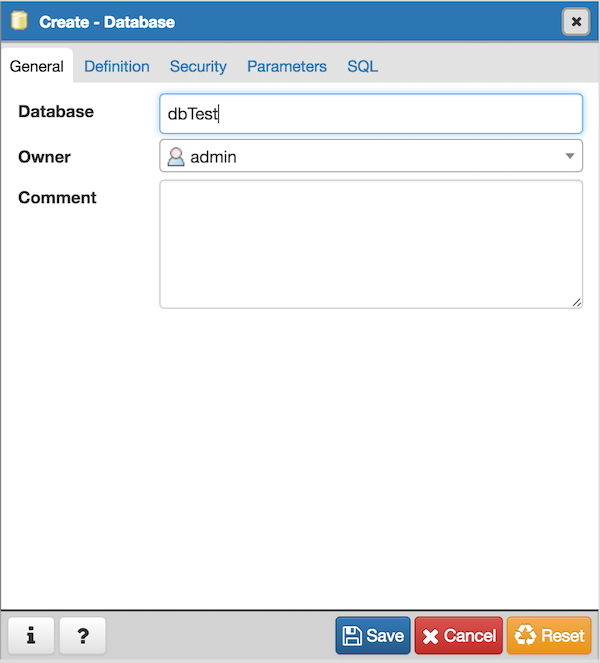
Create new database
Click . The database we just created now appears in the list of databases, as you can see in the next screenshot. Our final step is now to load an xTuple database backup file into the database we created. For the purposes of this example, we will assume you have already downloaded the database backup file from either the xTuple releases on GitHub—or from the xTuple website (Distribution and Manufacturing Editions only).
| |  | |
| 2. Configuring the Server |  | 4. Restoring from Backup File |