|
OpenRPT Product Guide |
In this section, we will explore the various options found on the report writer's toolbar. The toolbar options are the same regardless of whether you’re running the embedded xTuple report writer or OpenRPT. For now, we will focus only on the toolbar functionality. In subsequent chapters, we will explain how to modify existing reports and also how to create new reports.
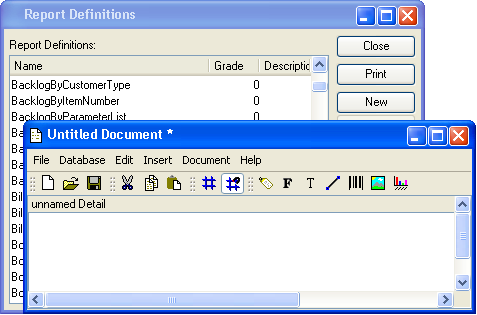
To see the toolbar using the xTuple report writer, we must first open a report definition. The term report definition refers to the files created by the report writer. Page layout, database queries, and so on are all parts of a report definition. For this exercise, we’ll open a new report by selecting the button from the Report Definitions master list. The following screen will appear:

All the functionality accessible using the toolbar options is also available from the drop-down menus.
For the remainder of this section, we will examine each of the options on the report writer toolbar. The following screenshot shows a close-up view of the toolbar:

As we look at the functionality related to each toolbar option, we will be moving from left to right—beginning with the icon.