
|
OpenRPT Product Guide |
|
|
OpenRPT Product Guide |
| 3.12. Lines | ||
|---|---|---|
 | 3. The Toolbar |  |

'Insert Line' Icon
The icon enables you to create new line objects. Line objects are used for drawing vertical, horizontal, and diagonal lines.
To create a new line object, first select the icon. Then click in the section of the report definition where you want the line to be located. Doing so will create the line object in that section. Once the line object has been created, click on the object and drag it with your mouse. As you will see, dragging the line object draws the line in any direction and to any length you wish.
If you hold down the key on your keyboard when you are dragging a line object, this will force the line to straighten out. Also, once a line has been inserted, you may change its orientation by clicking and dragging the whole line or either one of its end points.
After you have inserted a line object into a report definition, you may then define the width of the line object. To define the width of a line object, double-click on the line object. The following screen will appear:
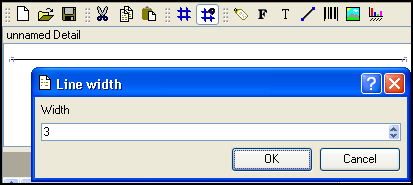
When defining the width of a line object, you are presented with the following options:
Specify the width of the line, measured in pixels, by entering a number either manually or by using the arrows to the right of the field. The maximum line width is 100 pixels.
At the bottom of the screen, the following buttons are available:
Select to save your settings.
Closes the screen without saving any changes, returning you to the Application desktop.
| |  | |
| 3.11. Text Areas |  | 3.13. Bar Codes |