
|
OpenRPT Product Guide |
|
|
OpenRPT Product Guide |
| 3.7. Show Grid | ||
|---|---|---|
 | 3. The Toolbar |  |

'Show Grid' Icon
The icon enables you to turn grid lines on for visual reference when aligning objects in a report definition. This option is a toggle, meaning grid lines may be turned on or off using this option.
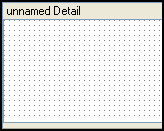
Clicking the icon turns grid lines on. The following screenshot shows a report definition with grid lines turned on:
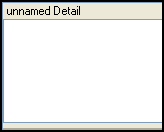
Clicking the icon a second time turns grid lines off, as shown in the following screenshot:
If you want to change the properties of your grid lines, the report writer gives you the ability to do so. To change your grid line settings, select the option from the menu. The following screen will appear:
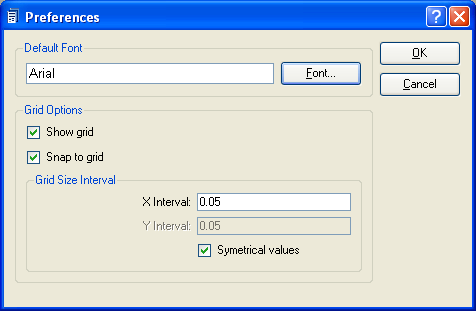
When establishing your report definition preferences, you are presented with the following options:
Select the default font to be used in the report definition by clicking on the button located to the right of the field. Selecting the button will bring up the Select Font screen, where you may specify font name, font style, font size, and font effects. Even though a default font is specified, you may override the default font on an object-by-object basis.
Indicate your grid line settings, using the following parameters:
Selecting this option turns grid lines on. If this option is not selected, grid lines will be turned off. The icon accomplishes the same result.
Selecting this option aligns objects to the grid. If this option is not selected, grid lines will not be aligned to the grid. The icon accomplishes the same results.
Specify the distance (measured in inches) between the points of your grid lines, using the following parameters:
Enter an interval for the horizontal axis of your grid, measured in inches.
Enter an interval for the vertical axis of your grid, measured in inches.
Select if you want the X axis and the Y axis to use the same interval between points. If selected, you will not be able to enter an interval for the Y axis.
To the far right of the screen, the following buttons are available:
Select to save your settings.
Closes the screen without saving any changes, returning you to the Application desktop.
| |  | |
| 3.6. Paste |  | 3.8. Snap to Grid |