
|
OpenRPT Product Guide |
|
|
OpenRPT Product Guide |
| 2.2. Adding Column Headings | ||
|---|---|---|
 | 2. Column Headings |  |
Over the course of the next few sections, we will perform the steps necessary to add email addresses to our Users master list. The first step is to add a column heading. The new Email Address column heading will ensure the data we retrieve from the database is labeled appropriately.
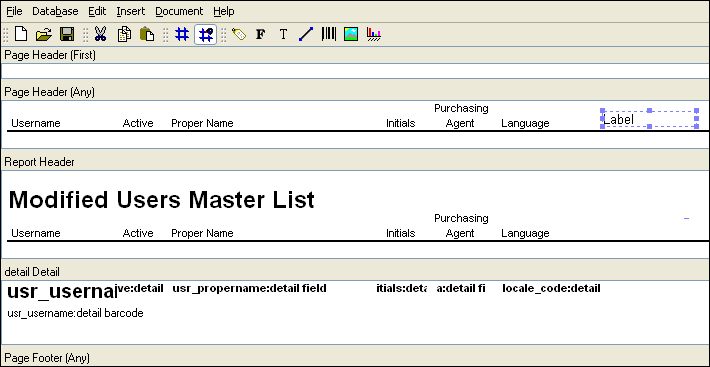
To add the new column heading, we select the icon from the toolbar and then click in the Page Header (Any) section. We place the label object to the right of the Language column heading, as shown in the following screen:
Now that we have placed the label object, we must define its properties. Double-clicking on the label object opens the Label Properties screen:
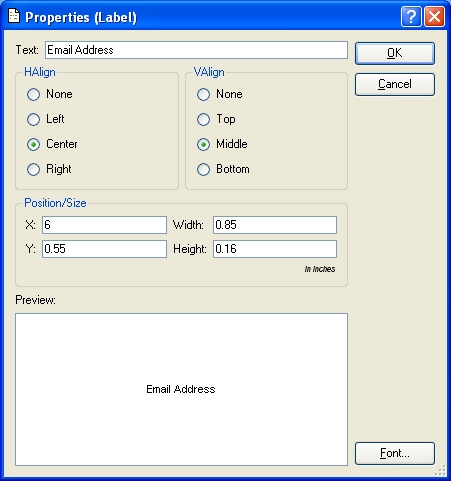
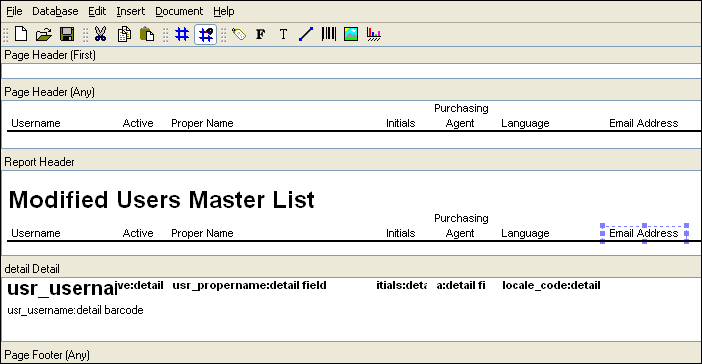
As you can see, we have entered "Email Address" in the Text field. This is the text which will appear as a column heading. We repeat the same steps to add the same new column heading to the Report Header section. And after moving the label objects into place using our mouse and saving the changes to the database, the column headings are located where we want them, as shown in the following screen:
Adding column headings for email addresses is only the first step in the multi-step process of inserting email addresses into the report. In the following sections, we will examine how to retrieve the needed information from the database.
| |  | |
| 2.1. Modifying Column Headings |  | 3. Modifying Query Sources |