
|
xTuple for Service Businesses Demo Guide |
|
|
xTuple for Service Businesses Demo Guide |
| 6.4. Preparing a Check Run | ||
|---|---|---|
 | 6. Accounts Payable |  |
Now it is time to set up the check run and print the check. To do so, follow these steps:
Go to .
The following screen will appear:

xTuple ERP gives system administrators the ability to authorize different employees to perform specific steps in the payment process. The system's granular security ensures accountability and helps maintain internal controls.
Select the bank account for the check run—again, use the .
Click the button.
Next we will view the check run. The View A/P Check Run screen is a powerful tool for managing check processing. Let's look at this session. You can access the screen following these steps:
Go to .
The following screen will appear:
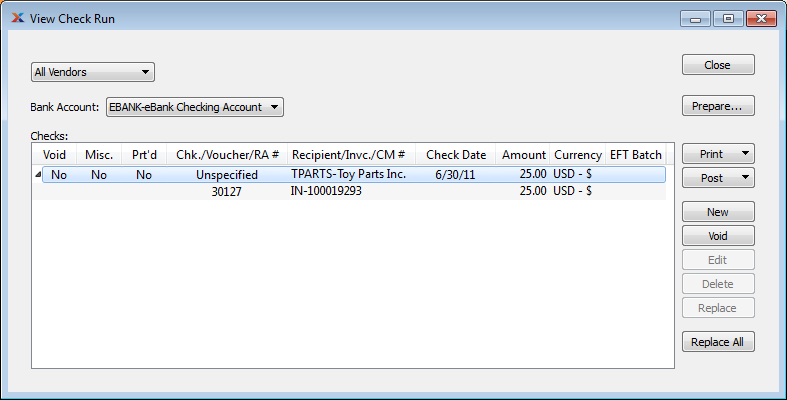
As you can see in the screenshot, the check we just prepared for printing is displayed. Now let's print the check run using these steps:
Select the option from the button drop-down menu.
The following screen will appear:
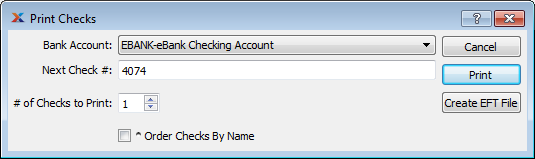
Click the button.
If you are warned that the recipient has been configured for EFT transactions, select to print a check anyway.
Select a printer from your operating system's printer dialog and print the check.
Click to indicate the check was printed successfully.
Click the button to exit the Print A/P Checks screen.
Click to exit the Check Run screen.
| |  | |
| 6.3. Selecting Vouchers for Payment |  | 6.5. Posting Checks |