|
xTuple Connect Product Guide |
The second field on the EDI Profile screen is the EDI Type. This is the delivery protocol to use for this EDI Profile. In Section 3.2, “Create a Simple EDI Profile” we selected Email. This changed the EDI Profile window to present options pertinent to sending electronic mail, such as a Subject line and Message Body.
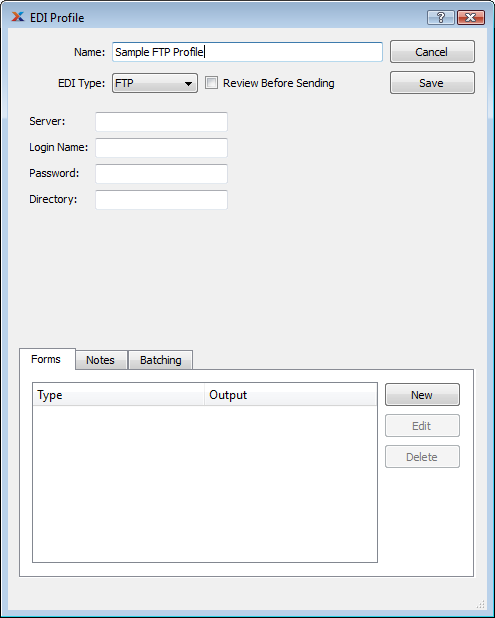
If you choose FTP as the EDI Type, the EDI Profile screen presents different options. It should look like this:

Sample EDI Profile for the FTP Protocol
Here you have the opportunity to enter the basic information required to communicate with a standard FTP server:
This is the host name or IP address of the FTP server
This is the login name the FTP server administrator has given you to use when logging in.
This is the password the FTP server administrator has given you to use when logging in.
Most FTP servers have multiple directories to keep their contents organized. The FTP server administrator may tell you to put your files in a particular directory, perhaps one named for your company. If so, type that name here. Otherwise leave this blank.
Just as with the simple EDI Profile we created for Invoices in Section 3.2, “Create a Simple EDI Profile”, we can easily create an EDI Profile for sending Invoices in PDF format to a particular FTP server by typing the real IP address, login, password, and directory on this window and creating a simple Invoice EDI Form. Alternatively you can define your own EDI tokens and use them instead. See Section 1.2.2, “Defining New EDI Tokens” for information on how to do this and Section 6, “How to Create Reusable EDI Profiles” for an example.