To run the xTuple Connect Batch Manager, double-click on the icon for the xTuple Connect Batch Manager application. The name of the file will differ depending on the operating system you are using. The following file names correspond to the different support platforms:
- Windows
BatchManager.exe- Mac
BatchManagerorBatchManager.app- Linux
BatchManager
You can also run the xTuple Connect Batch Manager from a command line prompt. See Section 7, “Automatic Startup Techniques” for suggestions on how to set up your operating system to start the xTuple Connect Batch Manager automatically.
Run the xTuple Connect Batch Manager at least once manually to configure it. When you start it you will see a login window. Click on the OPTIONS button. The following screen will appear:
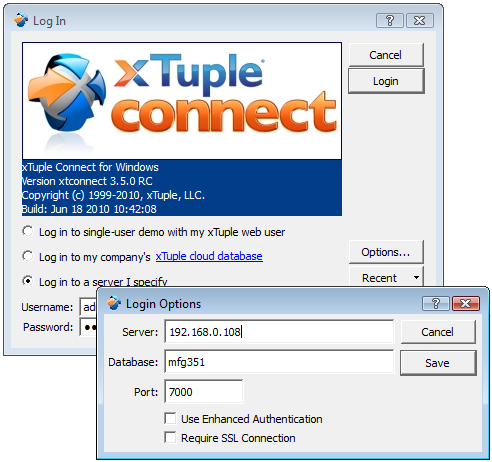
Enter your server, database, and port information, select SAVE and then log on with the username and password for your xTuple Administrator user. This is normally "admin". That's all there is to it!
Tip
Remember to keep the xTuple Connect Batch Manager client logged in to your xTuple ERP database at all times. If you close the xTuple Connect Batch Manager client, that effectively shuts down the xTuple Connect Batch Manager. To restart the xTuple Connect Batch Manager, simply re-run the client and connect to your xTuple ERP database.
Note
If your xTuple Administrator user is set to use a Locale other than the default Locale, you may see a warning message that indicates that translation files are missing. You can turn off this message by either installing the missing files or by marking the "Ignore Missing Translations" field on the User Preferences window in the main xTuple ERP application.