
|
xTuple Enhanced Commissions Product Guide |
|
|
xTuple Enhanced Commissions Product Guide |
| 4.1. Discount | ||
|---|---|---|
 | 4. Commissions Scenarios |  |
In our first scenario, we will follow sales rep Sam Masters as he sells 10 yellow tough trucks (YTRUCK1) to his retail Customer Prodiem Toys. After a 5% discount, the extended price for 10 items is $104.41. According to a commission schedule based on customer type "NORMAL", the sales rep should receive 8% commission on $104.41―leaving a payable commission of $8.35.
When using schedules, the discount percentage used to determine the commission rate is based on the initial price after any existing pricing schedules are applied.
To recreate the above scenario, let's make sure we have the necessary sales rep and commission schedule assignment in place. If it does not already exist, add the following commission schedule (you can access the commission schedule by following the path ):
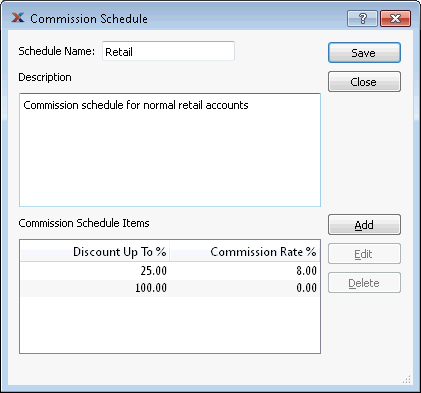
Commission Schedule
Next, assign the commission schedule to customers with type "NORMAL - RETAIL," as shown in the following screen:
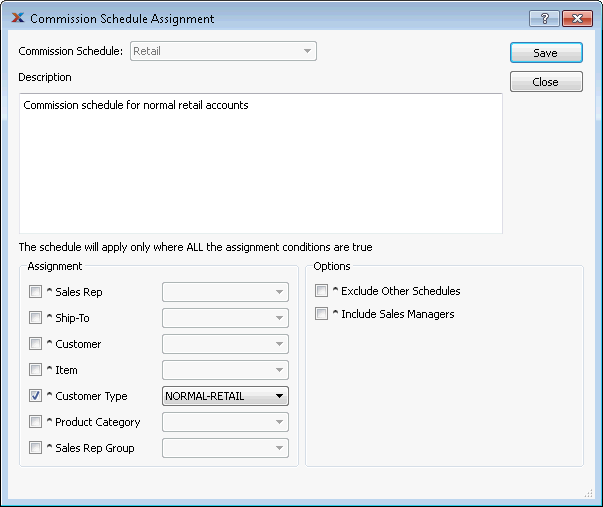
Commission Schedule Assignment
As we have seen previously, Sam Masters has been set up as a sales representative receiving commissions according to assigned commission schedules:
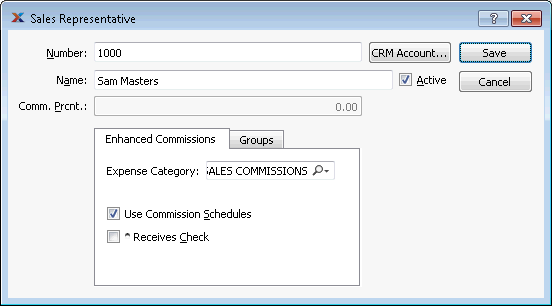
Sales Representative setup
It's important to remember that the fixed percentage and commission schedules options are mutually exclusive.
Verify that Sam Masters is a sales representative for customer "XRETAIL"―and add him as the primary sales rep, if he is not already:
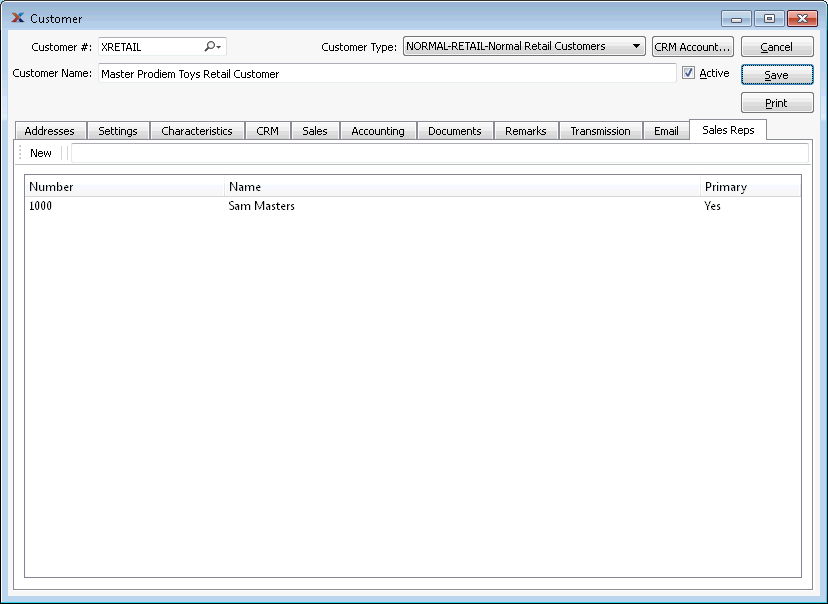
Customer sales rep setup
We are now ready to enter a sales order and sell the yellow toys at a discount to the customer:
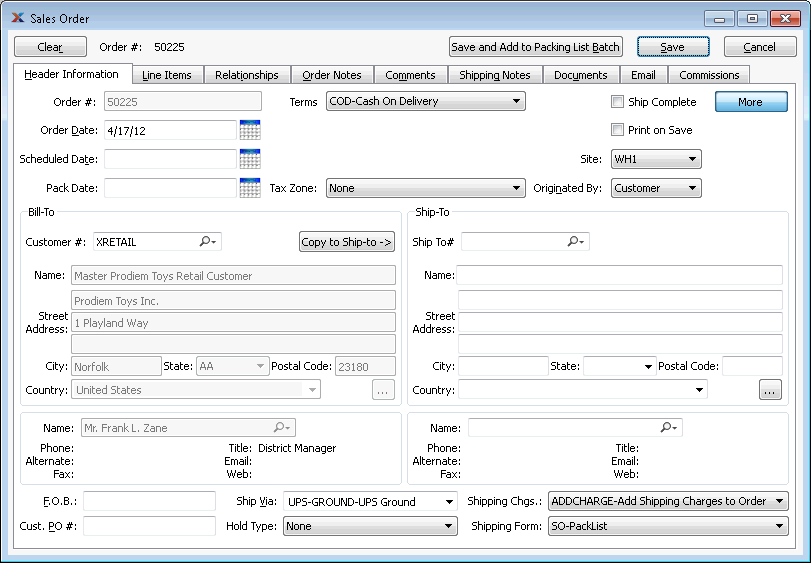
Sales Order for customer XRETAIL
Navigate to the Line Items screen (select the tab) and add item "YTRUCK1" and a quantity of 10 at 5% discount here. Note the entry on the tab:
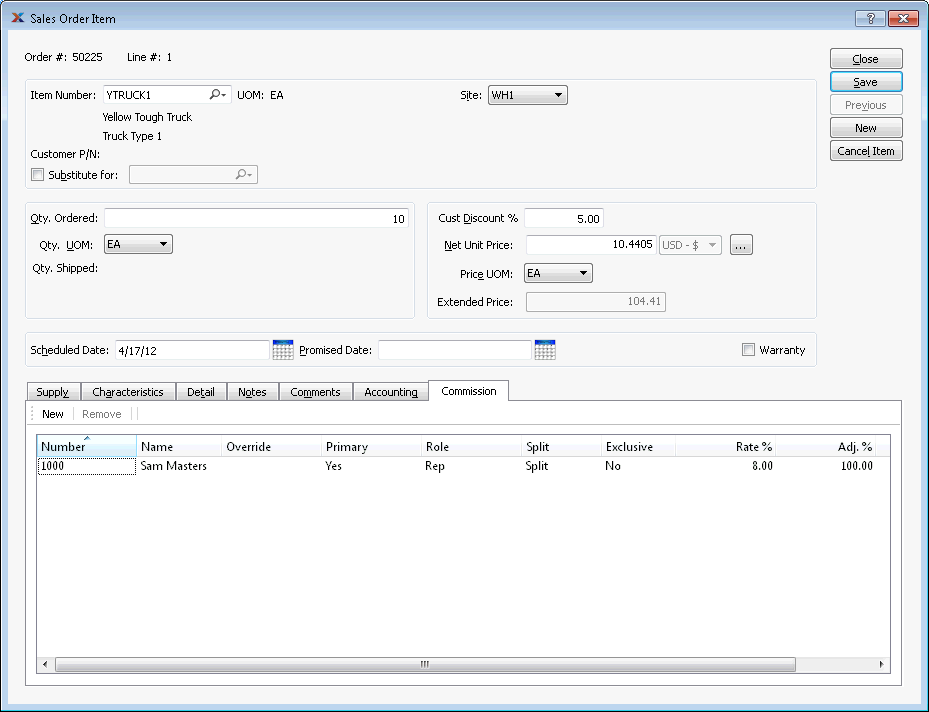
Commissions on line item YTRUCK1
After saving the item, notice the tab on the sales order header and click the button to save the order.
You can expand the line item to see the individual sales rep's commission.
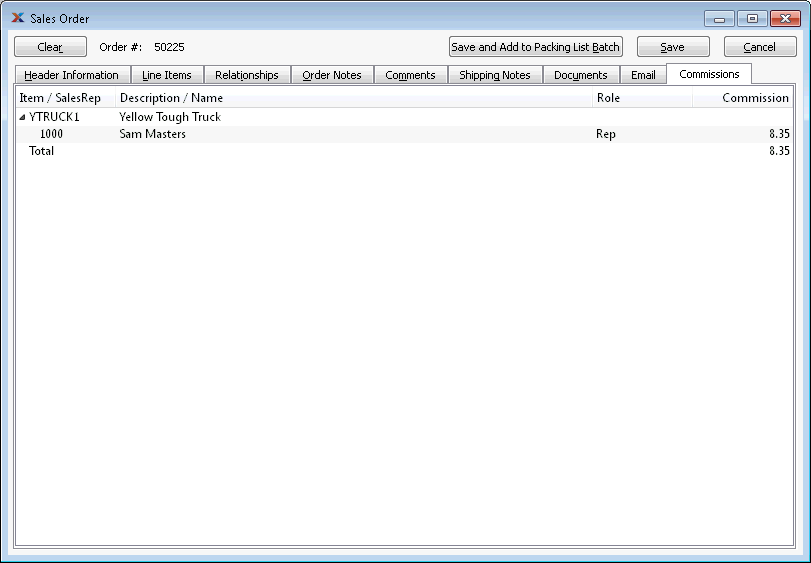
Sales Order header commissions information
Remember that commissions only become payable after the sales order has been invoiced and the payment received. For this first example, we will issue the items to shipping from the list of open sales orders. We will then create the invoice when shipping the items. To begin, follow these steps:
Follow the path
Right click on the sales order created above.
Choose the Issue to Shipping option.
Select the line item for shipping, making sure that Select for Billing and Create and Print Invoice are checked.
Click the button, as shown on the following screen:

Ship the order
When printing the invoice, make sure the Post Invoices after Printing option is checked, as follows:
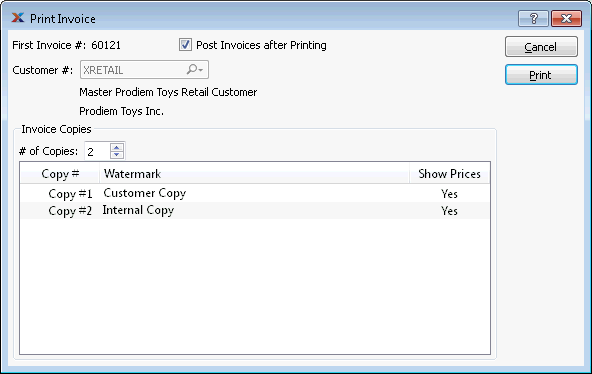
Print the invoice
To receive payment, follow the path and distribute and save the cash receipt, as follows:
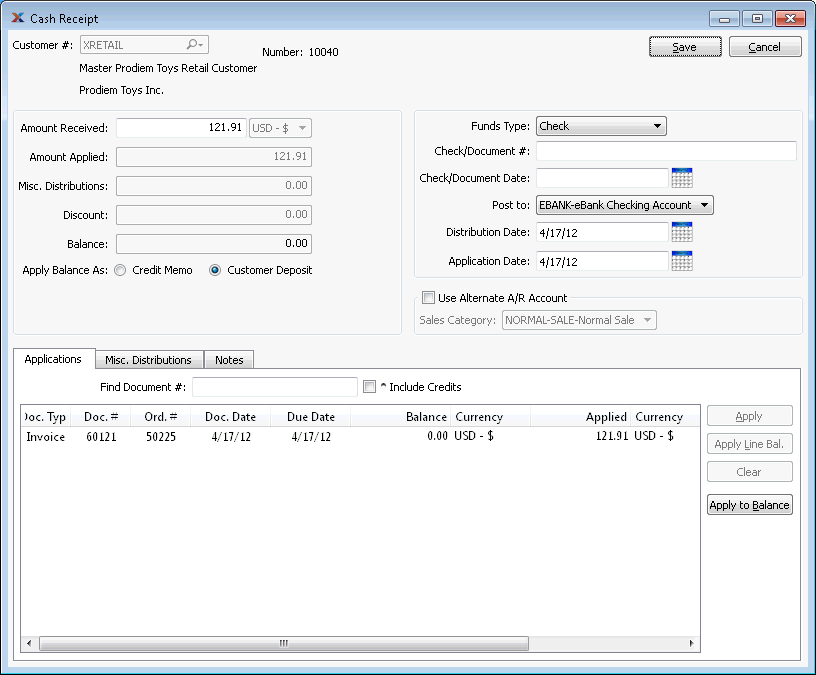
Receive the payment
Once you have saved the cash receipt, be sure to post it. Everything is now in place for payment of our sales rep.
As we mentioned earlier, the sales rep commissions report allows us to mark the relevant commissions as paid. Use the following path to get there: .
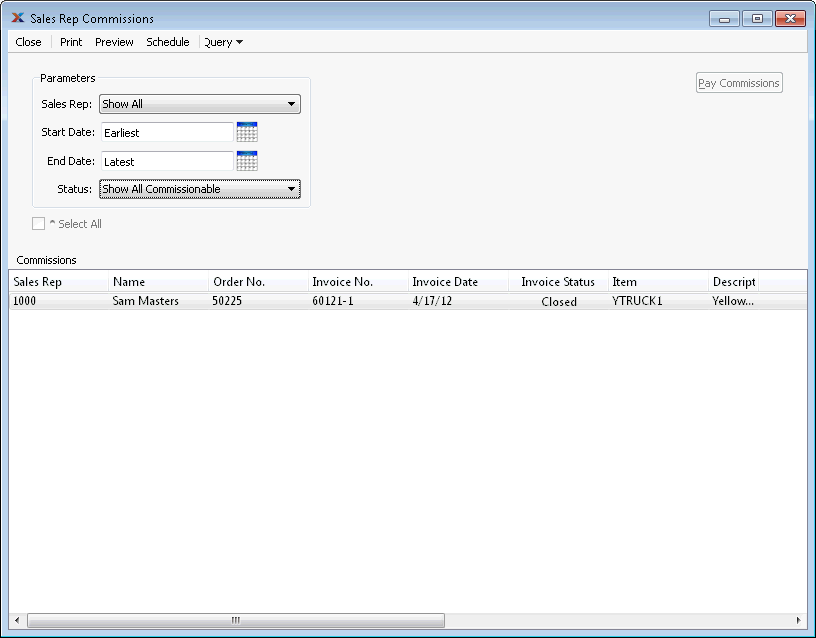
Sales Rep Commissions report
Right-click on the commissions line that you wish to pay and select Pay Commissions for Selected Invoices. Notice that the Paid column has now turned to "Yes." Our first enhanced commissions have been paid!
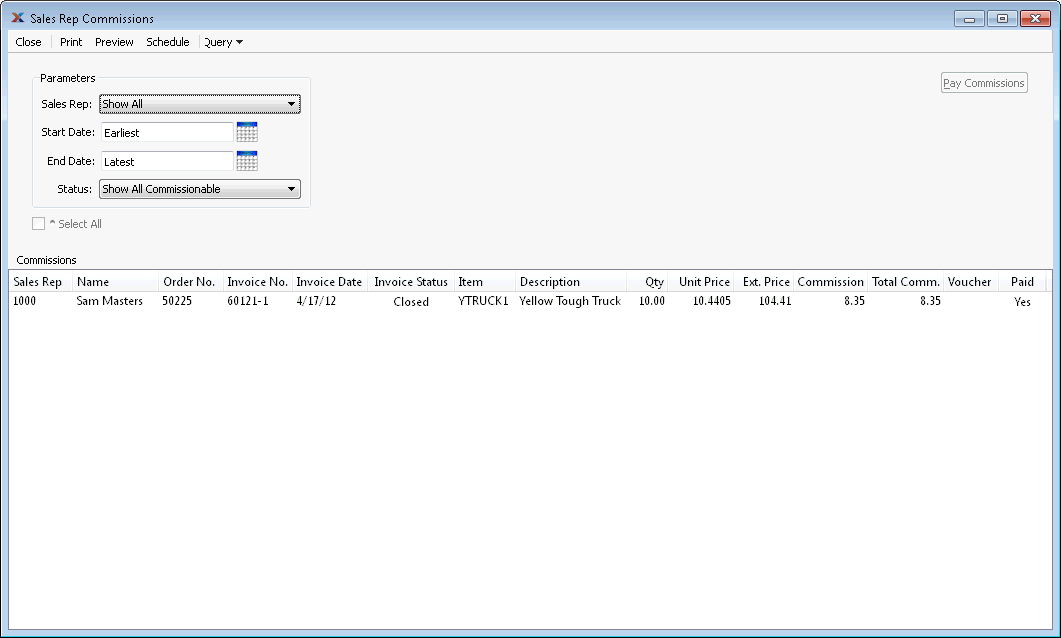
Sales Rep Commissions paid
| |  | |
| 4. Commissions Scenarios |  | 4.2. Ship To |