
|
xTuple for Service Businesses Demo Guide |
|
|
xTuple for Service Businesses Demo Guide |
| 7.4. Miscellaneous Vouchers | ||
|---|---|---|
 | 7. Paying Vendors |  |
Another option for paying vendors is to use miscellaneous vouchers. Many service businesses like using misc. vouchers because they avoid the overhead of purchase orders—while at the same time providing more control points than misc. checks.
For this scenario, we'll assume we need to pay United Parcel Service (UPS) for some recent shipping charges. There was no purchase order involved. But instead of simply cutting them a check, let's create a misc. voucher as an intermediate step designed to confirm payment should be made.
To pay a vendor using a misc. voucher, follow these steps:
Go to .
Specify All Vendors or limit the view to the UPS vendor.
On the tab, select the button.
Enter "UPS" in the Vendor Number field using the magnifying glass—or type the number manually.
Under the tab, select the button so we can add the distribution information.
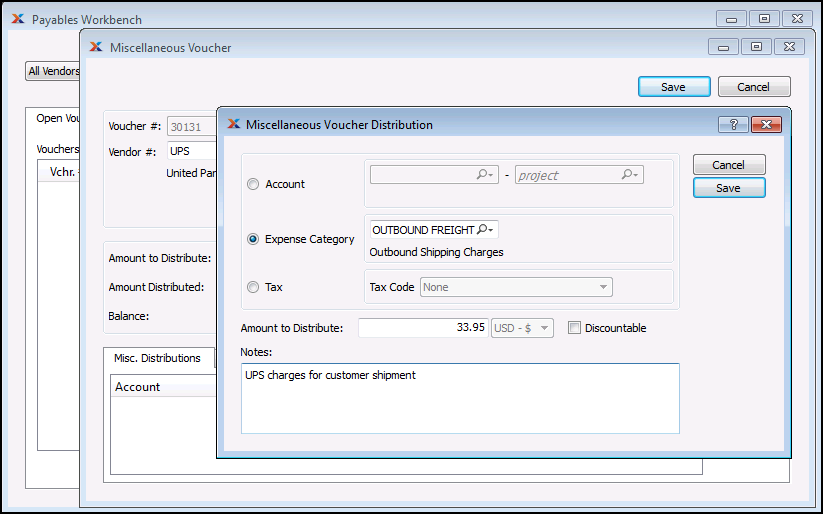
On the Distribution screen, select the Expense Category option.
Enter "Outbound Freight" in the Expense Category field using the magnifying glass—or type the code manually.
In the Amount to Distribute field, enter an amount (e.g., $33.95).
Finally add any notes to document the transaction.
The screen should look as follows:
After the distribution information has been added, there is only one more step here:
Select the button.
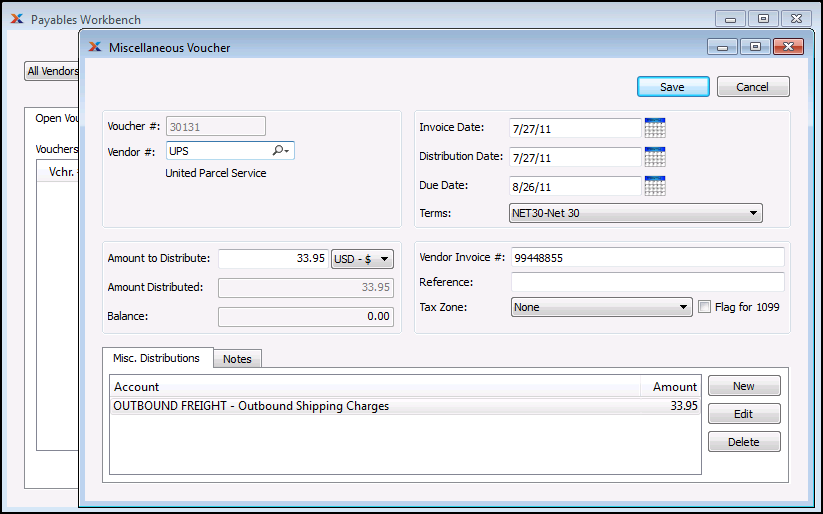
Once you've saved the distribution information, you'll be brought back to the header for the misc. voucher. The following information is needed to complete the misc. voucher:
Enter today's date as the invoice date, followed by the key (which will cause the other dates to be filled in automatically).
In the Vendor Invoice field enter any number representing the vendor's invoice number.
In the Amount to Distribute field, enter the same amount as shown in the Amount Distributed field.
In the Balance field, the amount should be "0.00".
The screen should look as follows:
When you've entered the needed information, just do the following:
Select the button.
The rest of the steps should be fairly familiar to you now, based on previous examples. All the tasks can be performed on the Payables workbench. The first thing to do is post the misc. voucher. To post the misc. voucher, follow these steps:
Go to .
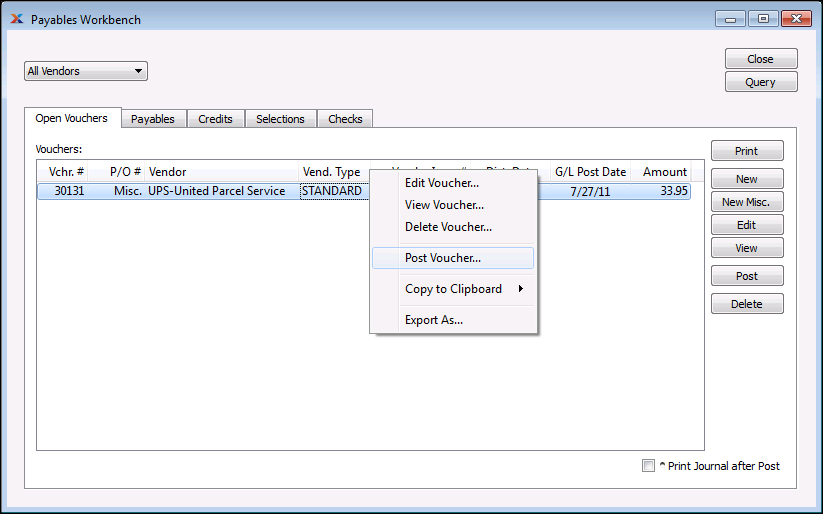
From the tab, right-click on the misc. voucher you just created.
Select the option, as shown in the following screen:
Confirm the distribution date and click .
Now that the misc. voucher has been posted, the next step is to select it for payment. To select the voucher for payment, follow these steps:
Go to .
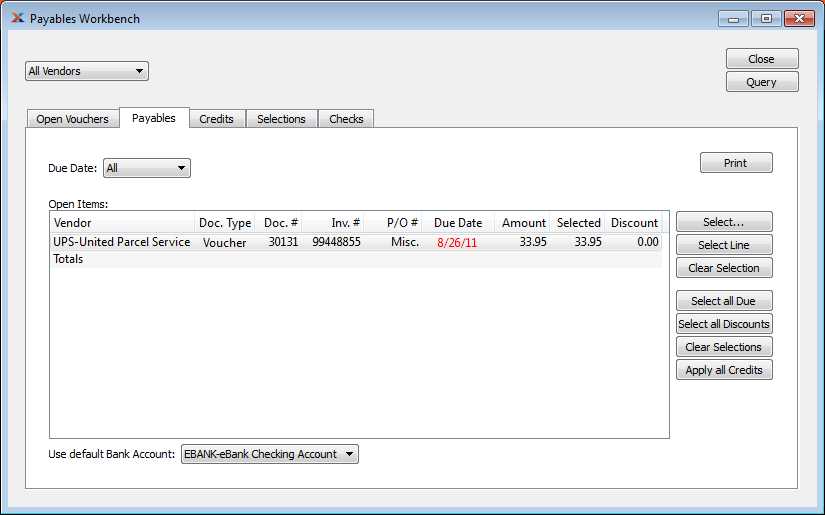
Go to the tab and select the button if the misc. voucher is not already shown in the list.
In the Use default Bank Account field, select .
Highlight the misc. voucher you just posted.
Choose the button.
The screen should look as follows:
With the misc. voucher already selected for payment, we are ready to prepare the check run. To prepare the check run, follow these steps:
Go to .
Select the tab.
In the Bank Account field, select .
Then select the button and follow the prompt to prepare the check run.
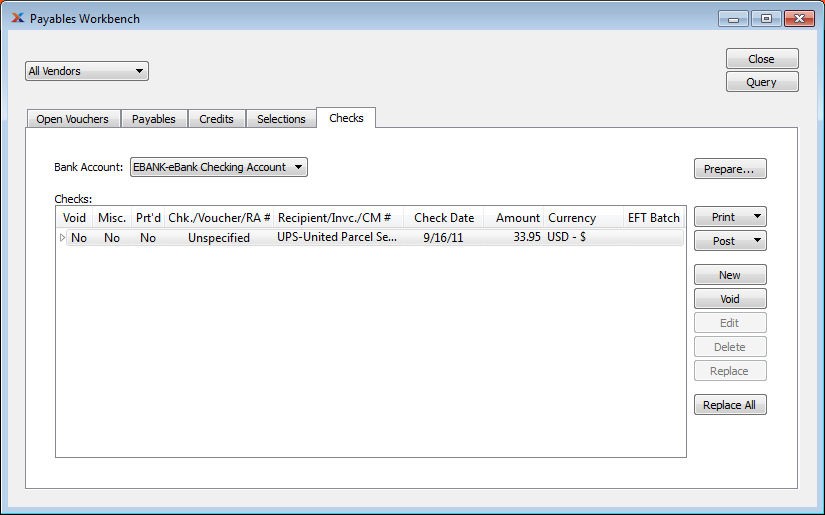
Once the check run is prepared, the screen should look like this:
The next step is to print the check. To print the check, follow these steps:
Highlight the check we just created.
Select the button, using the option.
The screen should look as follows:
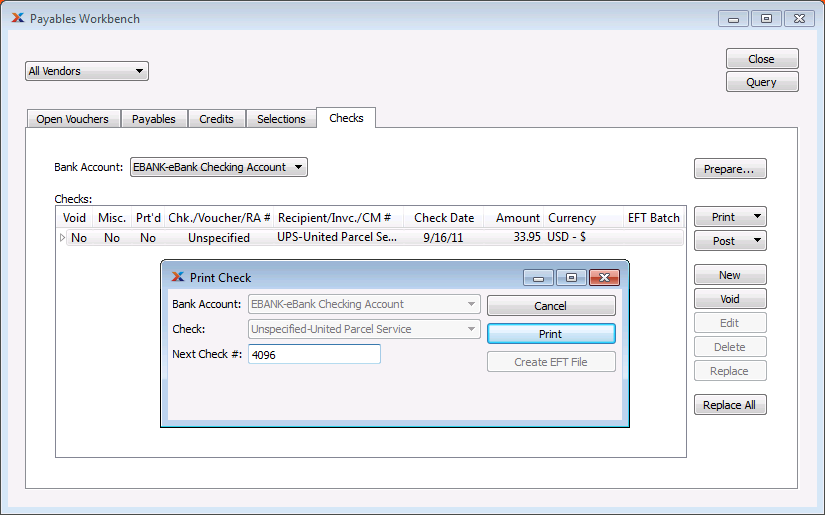
Notice on the Print Check screen that the next check number is shown. As we saw previously, the next check number is defined on the Bank Account screen. We are now ready to print the check:
Select the button using the option.
Choose a printer from your operating system's printer dialog and print the check.
Click to indicate the check was printed successfully.
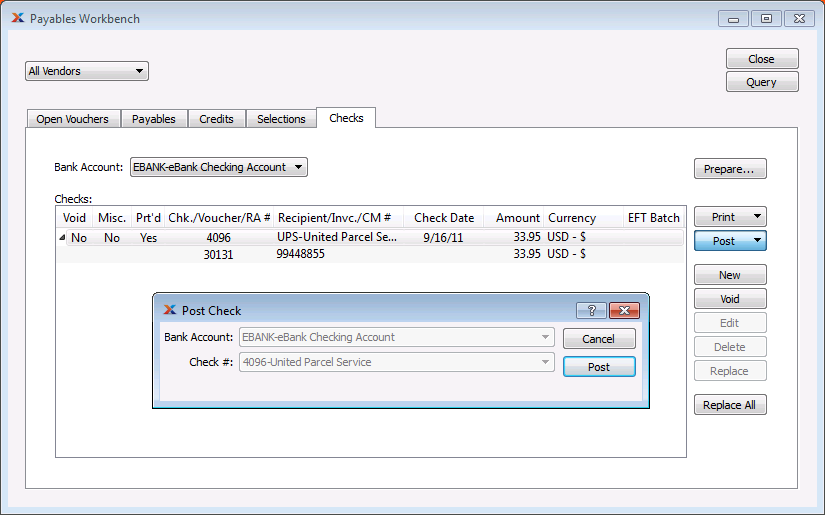
Once the check has been printed, the Check Run screen will be updated to show the check's printed status. A check must be printed before it can be posted. To post the check, follow these steps:
Highlight the check.
Select the button, using the option.
The screen should look as follows:
On the Post Check screen there is one final step:
Select the button.
And that's the end of the process flow for paying vendors with misc. vouchers used as an intermediate control step.
| |  | |
| 7.3. Processing Checks |  | 8. Financial Reporting |