
|
xTuple for Service Businesses Demo Guide |
|
|
xTuple for Service Businesses Demo Guide |
| 4.1. Displaying Results of MRP after MPS Run | ||
|---|---|---|
 | 4. Running MRP |  |
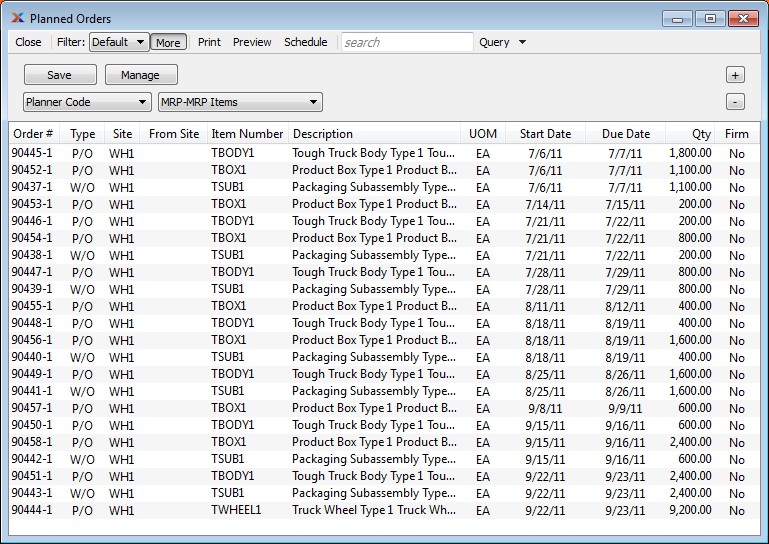
Once the MRP run is finished, we can go look at the planned orders generated by the run. To view the results of an MRP run, follow these steps:
Pull down the module menu.
Select the submenu.
Select the submenu.
Use the default settings and click the button.
As you can see, the MRP run generated multiple planned orders which were not initially present after we ran master production scheduling (MPS) initially. The reason for this is simple: The extra orders are MRP orders generated to satisfy the demand created by the MPS orders. Essentially, we forecasted demand and then discovered what materials would be needed to meet that demand—net existing quantity on hand, other demand, existing supplies, and expected receipts.
If you want to filter out MRP or MPS items, you may do so on the planned orders screen by following these steps:
Select the button.
Specify the filter.
Select either the or options.
Click the button.
Click to exit the display.
If you want to continue further and act upon the advice provided by the MPS and MRP planning systems, you can proceed by right-clicking on a specific planned order and releasing it. For more information on releasing planned orders, please see the Manufacturing Process Flow chapter.
| |  | |
| 4. Running MRP |  | Chapter 4. Constraint Management |