|
xTuple for Service Businesses Demo Guide |
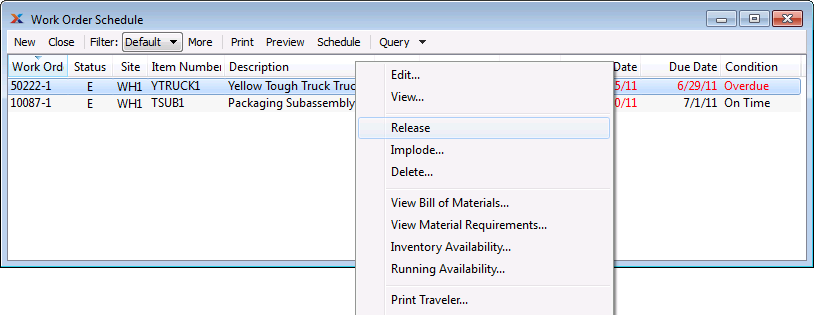
The Work Order Schedule screen displays details about work orders using a date range. From this one screen, a shop floor manager can right-click and accomplish several different tasks—including printing travelers, releasing orders, and posting operations. Many xTuple ERP customers view this one session as the shop floor manager's Planning workbench. To access it, follow these steps:
Go to .
Click the button to generate information, as shown below:

Right-click on the order for Item YTRUCK1.
Select the option from the right-click menu.
Note that the order's status has changed from E (exploded) to R (released).
Let's begin by processing the work order for 100 units of item TSUB1, by following these steps:
Right-click on the order for Item TSUB1.
Select the option from the right-click menu.
Note that the order's status has changed from E (exploded) to R (released).
Remember you had the option to generate a traveler when converting the planned W/O to an actual work order? You can also generate a traveler now from the right-click menu. You may notice that the work order for the truck has the same number as the sales order which generated it. Because of this linkage to the sales order, the traveler may also include a packing list.