The two major benefits to Bar coding are accuracy and speed during data collection. The report writer makes it easy to add bar coded information to report definitions. In this section we look at a simple but powerful example.
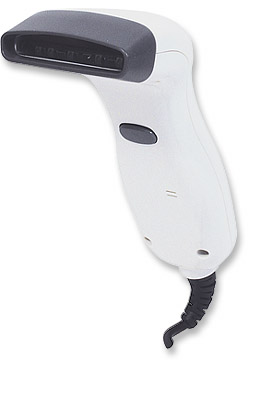
The photo below is of a wedge type bar code scanner. This type of scanner is attached to a PC running the xTuple Client. When a bar code is scanned, the information read by the scanner is entered on the screen wherever the cursor is currently located. Put another way, a wedge scanner is a substitute for the user’s manual data entry. Today these scanners are durable, inexpensive, and easy to connect.
Frequently bar code scanners are used to collect information on the shop floor. Below is the xTuple Post Production screen:
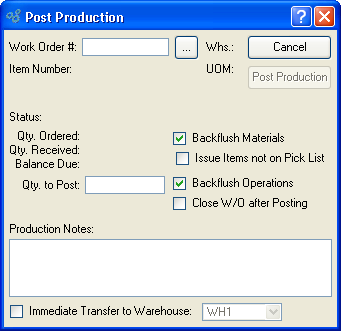
Users posting production are required to enter two pieces of information: the Work Order Number and the Quantity to Post. This information is available on the Work Order’s Router. But the standard Router (see below) contains this information only in human readable form.
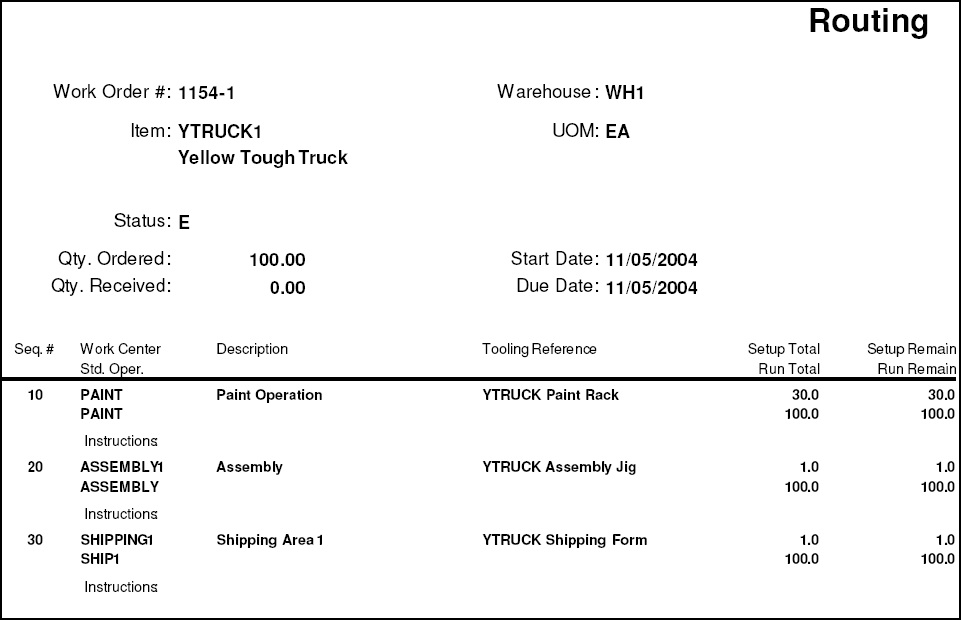
The information that we need for Posting Production is on the Routing, but in human readable form. Let’s look at how easy it is to add two addition fields that display this information in bar code Format.
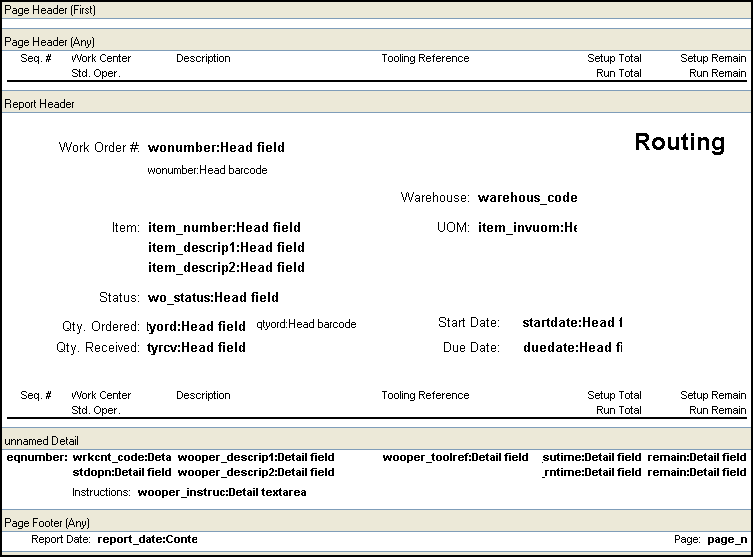
Below we see the report definition called Routing:

To added the human readable fields we are interested in at referred to on the screen as wonumber:Head field and qtyord:Head field. We will leave these fields as they are, but, we will need to move the wonumber:Head field and its corresponding label up a little to make room for the bar code field which we will place underneath it.
Once we have room on the report definition for the bar code we can use the bar code tool to place bar code in the report definition. Below we see the bar code Properties screen:
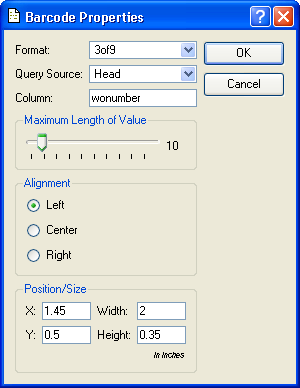
There are four critical settings on this screen:
- Format
You should check which formats your scanner supports. Most modern scanners enable auto-selection which means that the scanner can read more than one format and determine the format when the bar code is scanned. xTuple provides the following standard bar code formats: 3 of 9; 3 of 9+; 128; ean13; ean8; upc-a; upc-e
- Query Source
We can look at this settings for the human readable
wonumber:Head fieldfield andqtyord: Head fieldfields and use that same query for our bar coded fields- Column
We can look at this settings for the human readable
wonumber:Headfieldqtyord: Head fieldfields and use that same column for our bar coded fields- Maximum Length of Value
Here we set the number characters wide the work order number and quantity ordered could be. Ten and six respectively will work for these two bar codes.
After the addition of our bar code fields the new report definition will look something like this:
Remember when you Save to DB to use a grade other than 0 for your new routing report definition. To view the new routing, go to the W/O - W/O Control menu and select Print Routing. Enter a the Work Order Number for a currently released work Order and click the PRINT button. The new routing looks like this:
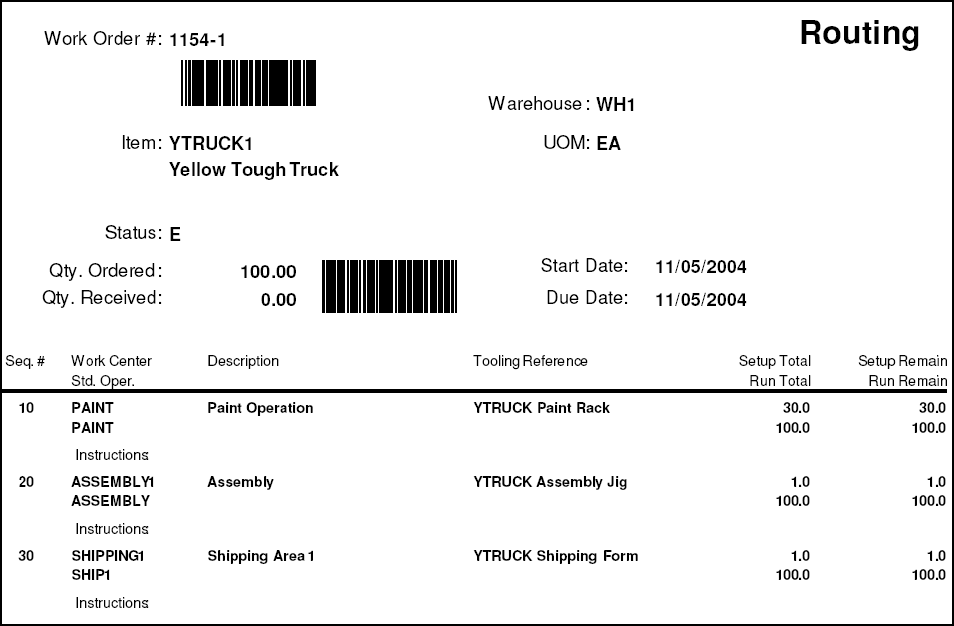
Now, a user recording production on the Post Production screen need only scan the Work Order Number and the Quantity to Post from the new Routing, and click the POST button.
As you become more and more familiar with xTuple and the data collection screens in it that you use to run your business, pay close attention to the xTuple documentation that users rely on to provide that data. You will likely find many other opportunities to add bar coded fields to report definitions and by doing so, improve the speed and accuracy of the information that is collected.