
|
xTuple ERP Reference Guide |
|
|
xTuple ERP Reference Guide |
| 6.1.1. Configure Schedule | ||
|---|---|---|
 | 6.1. Configure |  |
To configure the module, go to . The following screen will appear:
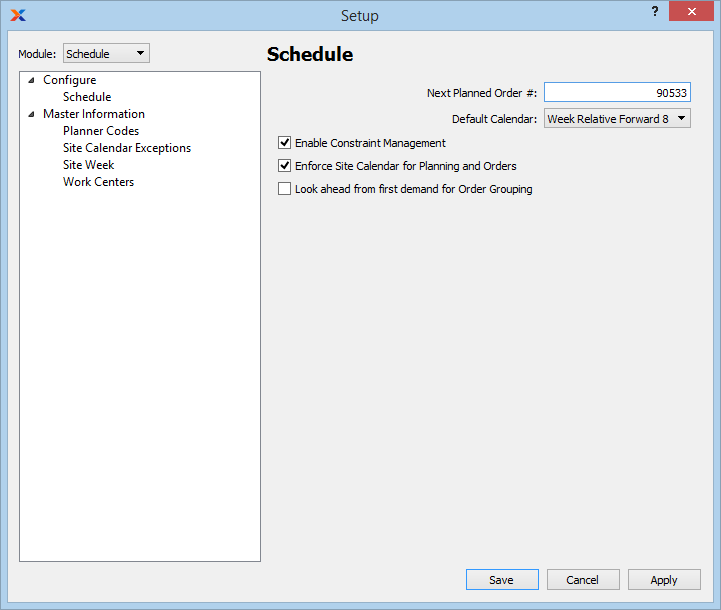
When configuring the module, you are presented with the following options:
Select to enable the constraint management system. If not selected, the system will be hidden from view.
Select if you want the planning and order entry systems to recognize non-working days, as defined by the site week and site calendar exceptions. If not selected, every day will be treated as a working day when either running the planning systems or entering the following types of orders: purchase orders, sales orders, transfer orders, work orders, return authorizations. When this feature is enabled, users entering order dates will be warned about non-working days and will be prompted to pick the next available working day.
Select this option to modify the default behavior of the planned order grouping feature found on the tab of the Item Site screen. If selected, the following logic will be used:
Plan each day until unsatisfied demand is found
Look ahead the order group number of days and create a planned order for the total unsatisfied demand
Repeat the process starting with the day after the end of the previous group.
If not selected, the default behavior will be used.
| |  | |
| 6.1. Configure |  | 6.2. Master Information |