|
xTuple ERP Reference Guide |
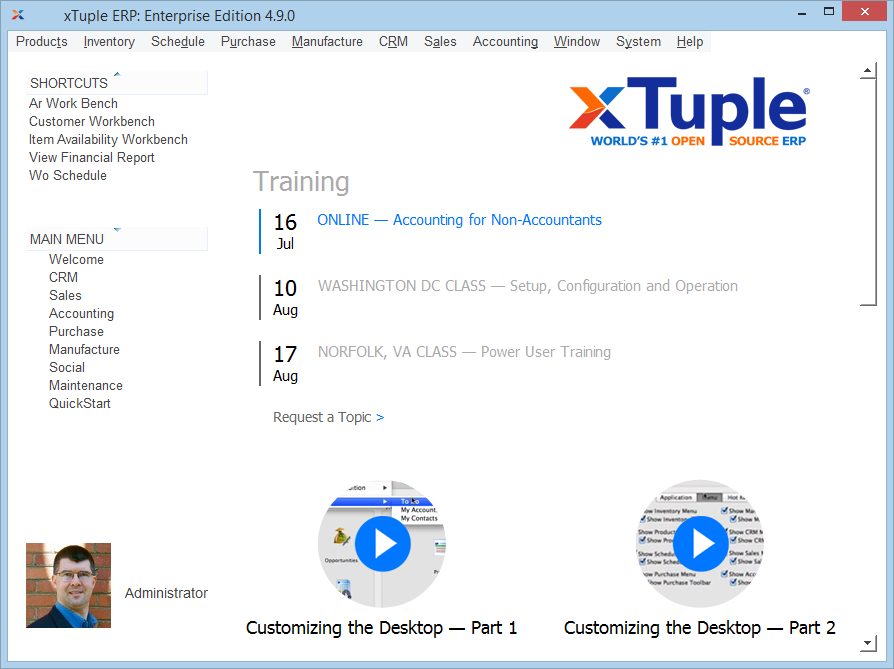
Once you have logged in, the main application desktop will appear. There are two different desktop options—and the one you see depends on the user preference settings you have defined on the "Preferences" screen. If you choose the "Free Floating Windows" preference, you will see the most popular desktop option:

A "window" is another name for a screen. When in free-floating mode, you can move screens outside the xTuple desktop area to any location you wish on your monitor.
The free-floating desktop enables you to take advantage of the QuickStart Wizard package.
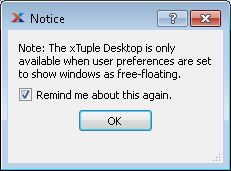
By contrast, if you choose the "Show windows inside workspace" mode, screens you open will be forced to remain inside the borders of the main xTuple application window. Here is how the desktop looks when the "inside workspace" option is chosen:

While the inside workspace method contains xTuple screens in a defined space, you do get access to the tabbed windows option in this mode. The tabbed windows feature can be used to organize open screens in tabs across the top of the workspace. Go to the menu to specify tabbed mode.
The following options appear under this menu:
Select if you want open screens to be stacked on top of one another within the workspace.
Select if you want open screens to be expanded or narrowed to form a tile pattern within the workspace.
Select to close the currently active screen.
Select to close all open screens.
The following options appear under the "Help" menu:
Select to view information about the xTuple ERP version you are running.
Select to access the online xTuple ERP Reference Guide. The Reference Guide provides field level help for xTuple ERP.
Select to access the xTuple community page.
Select to access the xTuple University site.
Select to access the xTuple online store.
Select to browse the discussion forums on the xTuple site.
Select to access the Issue Tracking system on the xTuple site.
Select to browse the blogs on the xTuple.org site.