|
xTuple ERP Reference Guide |
The Incidents list enables you to monitor and take action on the full range of Incidents entered in your system. The screen is extremely versatile and can be used by many different functional groups within your organization. For those who have purchased and are using the Web Portal products, this screen is the primary client-side interface for managing Incidents entered over the web.
Here are some tips for using this screen:
The rows in the workbench can be color-coded based on their status. To learn more about color-coding for the Incident list, see: Section 10.1.1, “Configure CRM”.
Build and save custom filters to make it easy for different functional groups to access the information they need to work on.
Enter search terms in the Search window, then select the QUERY button to quickly locate the Incidents you are looking for.
Sort the data on the screen by the columns you use the most. The sort order will be remembered every time you return to the screen.
If you have Incident Characteristics defined, you can search and report on these Characteristics using the search filter options and also the column headers.
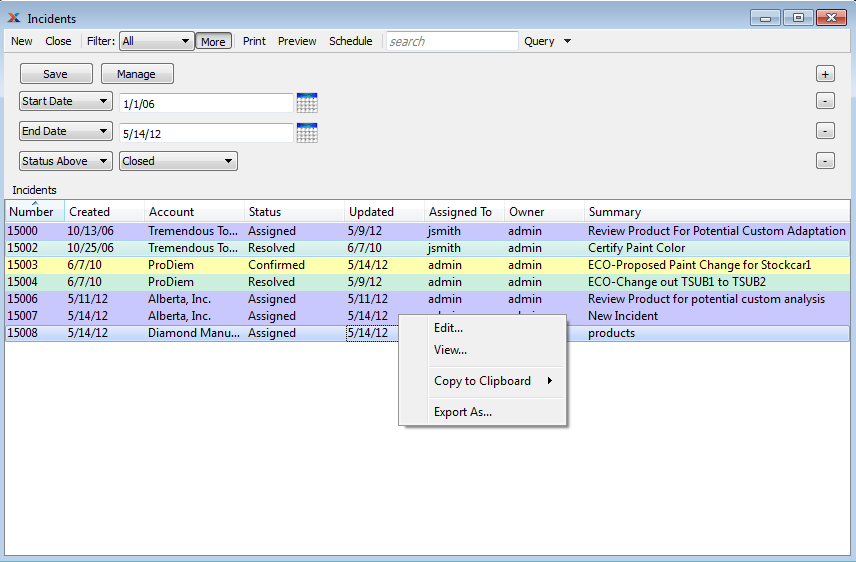
The following screenshot shows the "Incidents" screen:

The default filter on the "Incidents" screen shows Incidents assigned to the logged-in user having a status above "Resolved." You can build your own search criteria using the following options:
Select a filter from the list of available filters, then select the QUERY button to generate search results. Only saved filters will appear in this list.
Select this button to show the parameters underlying the saved filter. To hide the parameters, click the MORE button a second time.
When building a custom query, you have the following options:
Select to add a new parameter to the query.
Select to remove a parameter from the query. This option is disabled for default parameters.
Select to save your filter for future use. Saved filters will appear in the list of available filters.
Select to manage your saved filters. To learn more about managing filters, please see Section 2.1.2, “Search Filters”.