
|
xTuple ERP Reference Guide |
|
|
xTuple ERP Reference Guide |
The "Work Order Schedule" screen is an essential workbench where you can both view the status of current Work Orders and also perform any work that needs to be done on Work Orders.
Here are some tips for using this screen:
The following codes describe the various Work Order statuses: Open ("O"), Exploded ("E"), Released ("R"), In-Process ("I"), Closed ("C").
To edit a Work Order after it has been created, use the "Edit W/O" option in the right-click menu.
Use the right-click menu to locate any of the actions that can be performed on Work Orders.
To locate a specific Work Order, enter the Work Order number (or a portion of it) in the search window.
The start dates and end dates are color-coded for ease of use. Both dates will display in red type if the Work Order is not yet in-process and is also past due. Once a Work Order's Status is changed to in-process ("I"), the start date will automatically revert to black type.
If you use the "Show Only Top Level" search parameter, this refers to Work Orders that have not been created to meet the component demands of a parent Work Order.
To view open Work Orders whose parent Sales Orders are closed, select the "Open Work Orders with Closed Parent Sales Orders" option.
To see the relationship between Sales Orders and the open Work Orders they are associated with, select the "Open Work Orders with Parent Sales Orders" option.
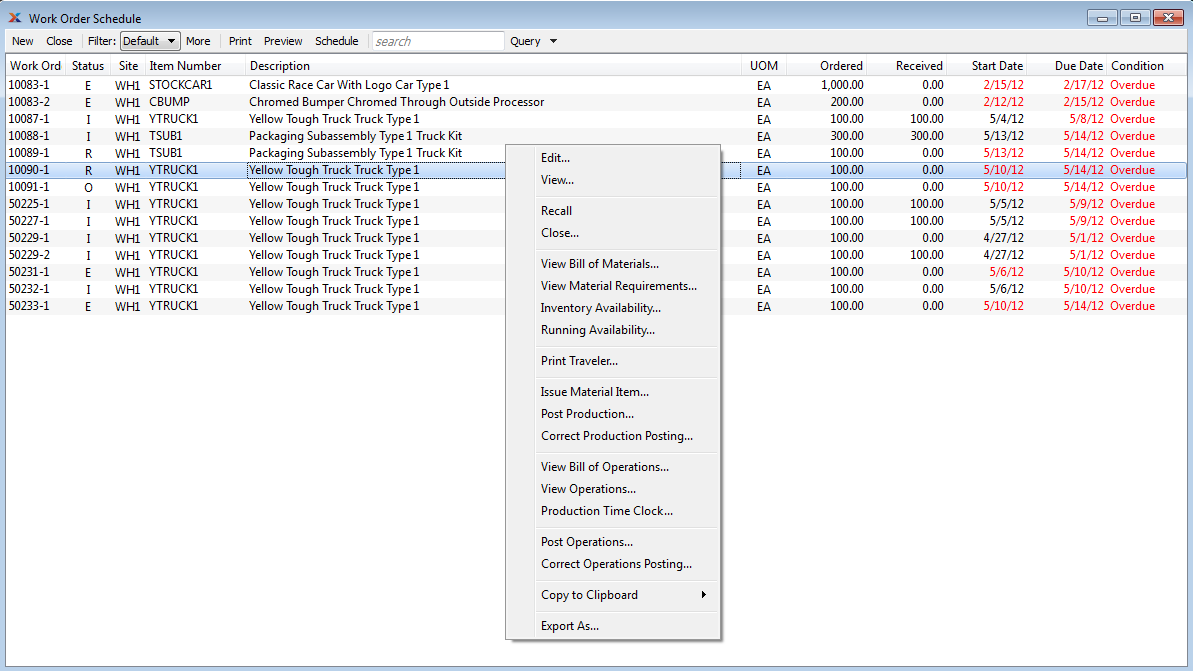
The following screenshot shows the "Work Order Schedule" screen:
The default filter on the "Work Order Schedule" screen shows all open Work Orders. You can build your own search criteria using the following options:
Select a filter from the list of available filters, then select the QUERY button to generate search results. Only saved filters will appear in this list.
Select this button to show the parameters underlying the saved filter. To hide the parameters, click the MORE button a second time.
When building a custom query, you have the following options:
Select to add a new parameter to the query.
Select to remove a parameter from the query. This option is disabled for default parameters.
Select to save your filter for future use. Saved filters will appear in the list of available filters.
Select to manage your saved filters. To learn more about managing filters, please see Section 2.1.2, “Search Filters”.