|
xTuple ERP Reference Guide |
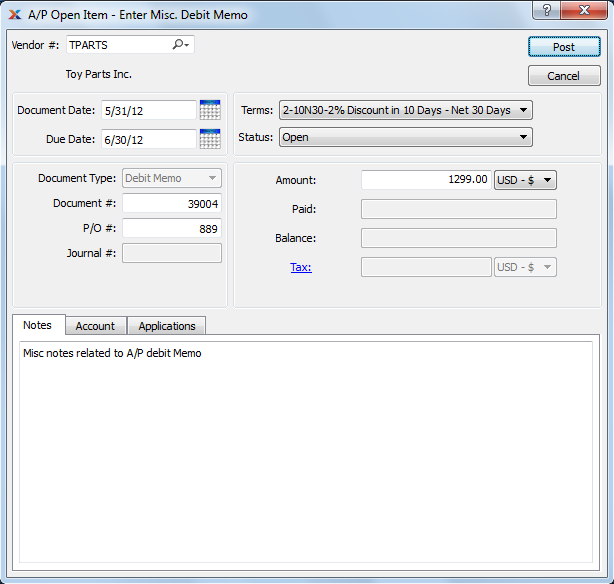
A miscellaneous Debit Memo is like a Voucher—the main difference being that a miscellaneous Debit Memo is not necessarily linked to a Purchase Order. To enter a miscellaneous Debit Memo, select the "Enter Misc. Debit Memo" option. The following screen will appear:

When entering a miscellaneous Debit Memo, you are presented with the following options:
Enter the Vendor number of the Vendor you want to enter a miscellaneous Debit Memo for.
Specify a date to associate with the miscellaneous Debit Memo.
Displays the due date for the miscellaneous Debit Memo.
Displays the Document Type, namely "Debit Memo."
Displays the next available miscellaneous Debit Memo Number.
The value for the next available Debit Memo Number can be configured at the system level.
Enter a Purchase Order Number to associate with the Credit Memo. You may leave this field blank if you do not want to enter an associated Purchase Order Number.
Displays the Journal number if any amount has been applied.
By default, the Terms defined on the Vendor master for the specified Vendor will be used here.
Choose from the following status options:
Select to allow normal processing for the open payable. If open items are placed on hold, they may not be selected for payment. You can put open items on hold using the right-click menus on several screens, including the Payables Workbench. Once an open item is closed, it cannot be reopened.
Select to place the open payable on hold. If open items are on hold, they may not be selected for payment. You can take open items off hold using the right-click menus on several screens, including the Payables Workbench. Once an open item is closed, it cannot be reopened.
Specify the amount of the miscellaneous Debit Memo.
Displays the amount applied to date for the miscellaneous Debit Memo.
Displays the remaining amount still available to apply for the miscellaneous Debit Memo.
Select the Tax hyperlink and enter applicable taxes.
This is a scrolling text field with word-wrapping for entering Notes related to the miscellaneous Debit Memo.
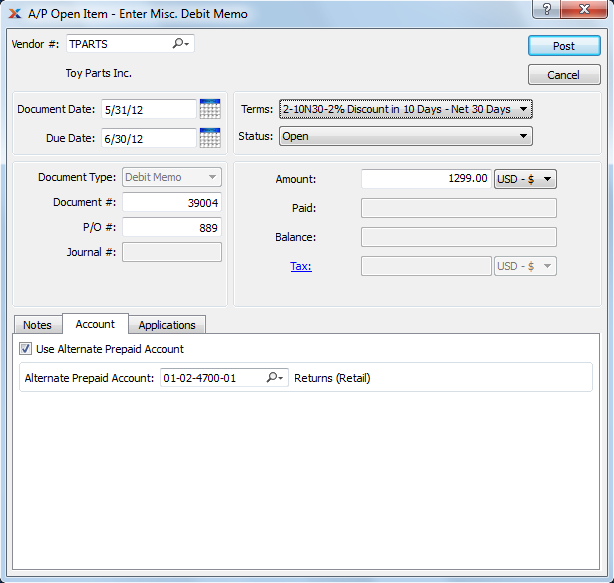
To assign an alternate prepaid Account, select the "Account" tab at the bottom of the screen. The following screen will appear:

Select one of the following optional prepaid Accounts:
Alternate Prepaid Account: Specify an alternate prepaid Account to use instead of the default prepaid Account.
If an alternate prepaid Account is not specified, the system will use the default prepaid Account specified for the Vendor Type under Payable Assignments.
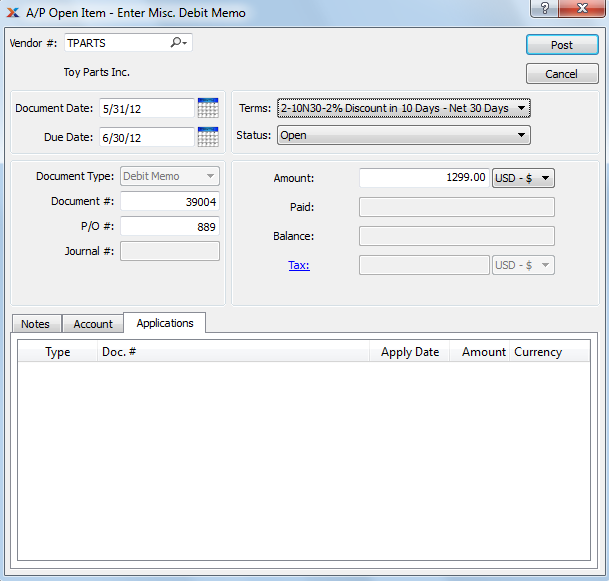
To view Applications, select the "Applications" tab at the bottom of the screen. The following screen will appear:

Display lists the history of applications related to the miscellaneous Debit Memo, if any.