
|
xTuple ERP Reference Guide |
|
|
xTuple ERP Reference Guide |
| 3.4.5. Journals | ||
|---|---|---|
 | 3.4. G/L Reports |  |
If your site is configured to post transactions to an intermediate Journal instead of directly to the General Ledger, this Journals screen will be visible to you. To learn more about this configuration option, please see Section 12.1.1, “Configure Accounting”. When Journals are in use, all transactions and their full transaction detail are posted in real time to intermediate Journals (sometimes also referred to as "day books"). From the Journals, transactions are later posted to the General Ledger—in summary form. In this way, transaction detail remains in the Journals, with the summarized version of that detail residing in the General Ledger.
Here are some tips for using this screen:
Use the right-click menu to drill down into the details of individual transactions.
If your transaction records are displaying a "No" value in the "Posted" column, this means the transactions have not yet been posted to the General Ledger. Until they are posted to the General Ledger, Journal transactions will not appear in the Trial Balance or other financial reports.
You can post Journals to the General Ledger on a daily, monthly, or weekly basis. It's up to you how you want to implement this feature.
Keep in mind that the trial balance and other financial reports are based solely on General Ledger transactions. This means that Journal transactions are not included in financial reports—that is, until they are posted over to the General Ledger. To learn more about posting Journals to the General Ledger, please see Section 3.3, “Post Journals to Ledger”.
When Project Accounting enabled, there is a search parameter designed to show Accounts with a Project Number as the last segment. If the "Show Project Detail" option is not used, balances will roll up into the parent Account total.
The following screenshot shows the "Journals" screen:
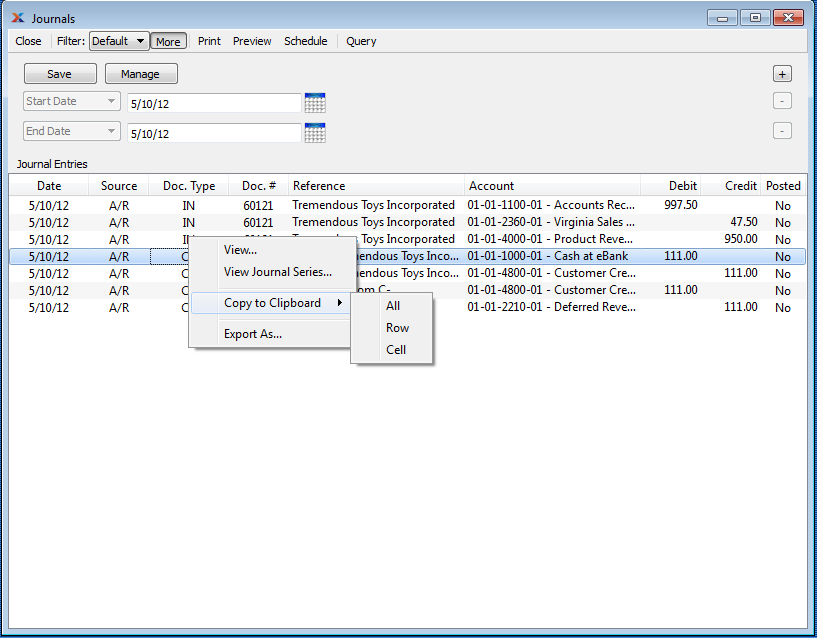
The default filter on the "Journals" screen shows all transactions for the current day. You can build your own search criteria using the following options:
Select a filter from the list of available filters, then select the QUERY button to generate search results. Only saved filters will appear in this list.
Select this button to show the parameters underlying the saved filter. To hide the parameters, click the MORE button a second time.
When building a custom query, you have the following options:
Select to add a new parameter to the query.
Select to remove a parameter from the query. This option is disabled for default parameters.
Select to save your filter for future use. Saved filters will appear in the list of available filters.
Select to manage your saved filters. To learn more about managing filters, please see Section 2.1.2, “Search Filters”.
| |  | |
| 3.4.4. Standard Journal History |  | 3.4.6. Ledger Control |