|
xTuple Connect Guide |
If an xTuple ERP report window has a SCHEDULE button on it, that means the report can be sent to the xTuple Connect Batch Manager for processing. Reports can either be sent directly to a printer or a .PDF version can be emailed. For this example, we will be emailing a copy of an A/R Aging report.
First, we need to run the report. To get to that screen, follow these steps:
Follow this path:
Simply use the default values
Select the QUERY button
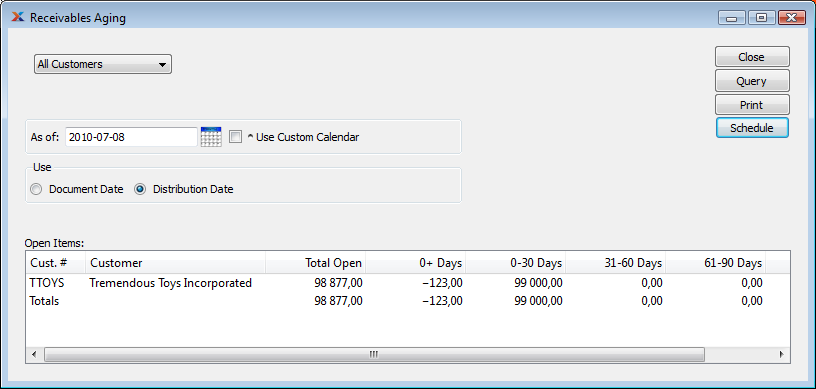
The following screen will appear:

As you can see, the A/R Aging report screen has a SCHEDULE button. To send this report to the xTuple Connect Batch Manager for email processing, follow these steps:
Select the SCHEDULE button
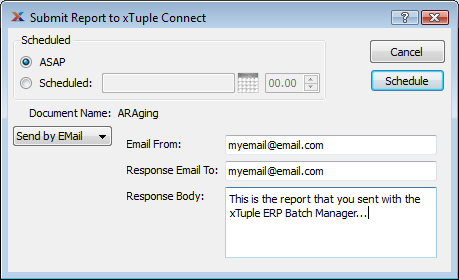
The xTuple Connect Batch Manager submission screen will appear
Leave the scheduled date as ASAP (As Soon As Possible)
The email address of the user who submitted the report will appear in both email fields
To send the report to another person, simply enter additional email addresses in the "Response Email To" field, separated by commas
Type in a message in the "Response Body" field even if you are sending the report to yourself since some spam filters reject email that has no message content
The following screen shows a sample submission:

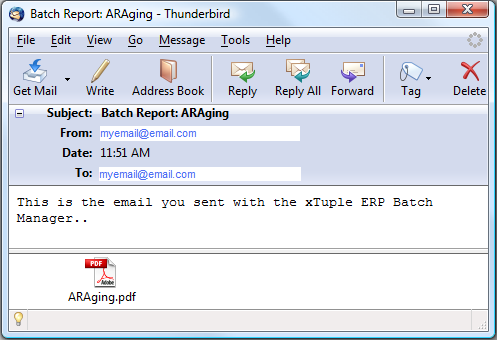
When you select the SCHEDULE button, the report will be sent to the xTuple Connect Batch Manager for processing. In the following screen, we see an example email with the A/R Aging report attached in .PDF format:

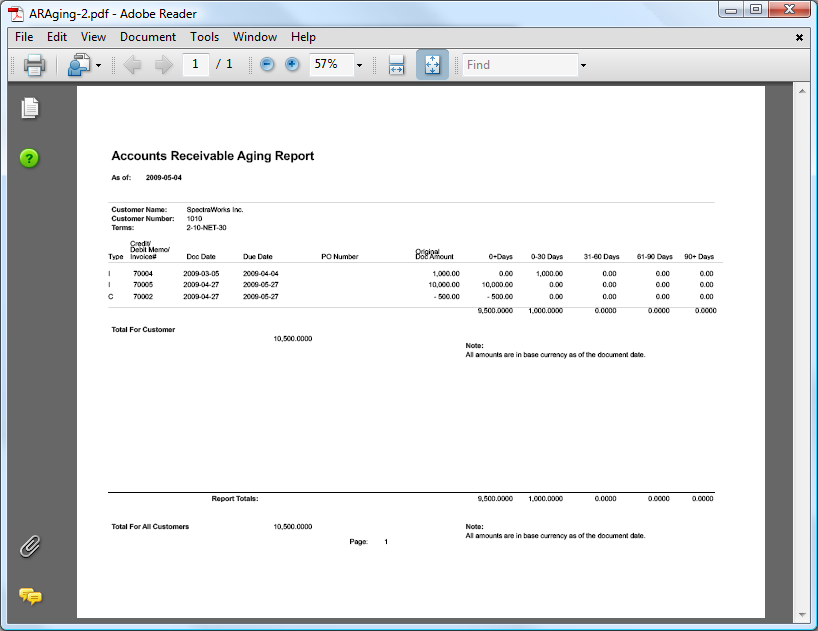
Finally, the following screenshot shows what the attached file looks like when the .PDF is opened:

The Submit Report to xTuple Connect window lets you choose to send the report directly to a printer instead of sending it by email. The printer used is the default printer on the computer running the xTuple Connect Batch Manager client.
Some very old report definitions use legacy parameter values (e.g.
%1 or %2). These reports will not
print successfully through the Batch Manager. If this problem is found,
update the report definitions to use named parameters (e.g.
<? value('invchead_id') ?>).