Invoices normally get printed as part of the standard workflow. This can happen through the Ship Order window (there's a check box to "Create and Print Invoice"), from the Unposted Invoices list, the Customer Workbench, and elsewhere in xTuple ERP. Whenever xTuple ERP prints an Invoice, the user sees the following screen:
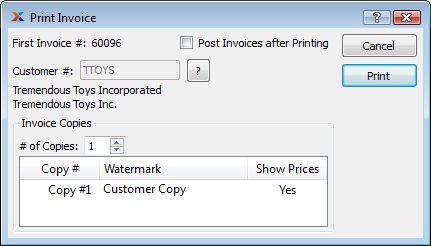
Print Invoice Screen
When the user clicks the PRINT button here, the operating system's print dialog appears.
If the xtConnect extension package is configured to send Invoices electronically to this Customer, the following screen will appear after the user clicks the OK or PRINT button (but see Review Before Sending in Section 3.2, “Create a Simple EDI Profile”):
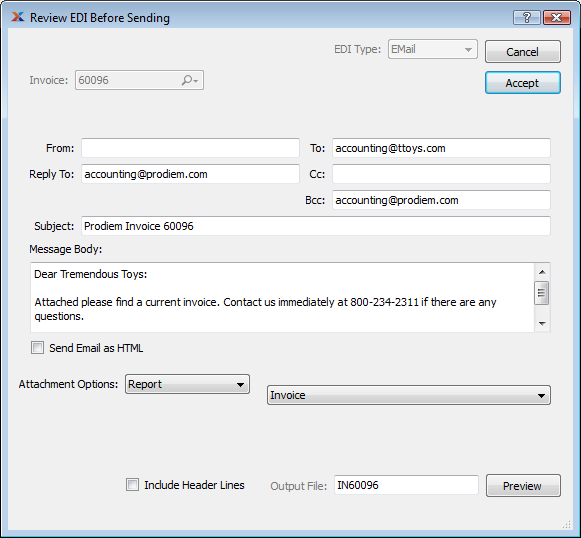
As you can see in our example, all the required details have been filled in automatically to send an email message. Notice how the specific details about this document have been set: The actual Invoice Number appears in the "Subject" and "Output File" fields; the email address for the Customer has been set properly; and the proper report has been selected from the list.
You may at this point manually edit the email body if you want to change the default information displayed there or choose a different invoicing report. Any edits made to the email body will be included in the email to the Customer. The ability to edit this information is controlled by the EditEDIBeforeSending privilege.
Once you select the ACCEPT button, the job will be sent to the xTuple Connect Batch Manager, awaiting its turn to be processed. When the job is completed, the Customer will receive an email with a .PDF of the Invoice attached.
If you choose not to print Invoices, you can still send them electronically:
Follow this path:
The Review EDI Before Sending screen will appear as above but will be blank. Don't be surprised if it looks a bit different at first, since the default view might show some different fields.
Type the Invoice number in the "Invoice" field or select one using or from the "Invoice" field's menu. The Review EDI Before Sending screen should now look just like it did when you printed this Invoice.
Click the ACCEPT button to submit the Invoice to the xTuple Connect Batch Manager to be emailed.
Note
To check on the status of the job, simply open the xTuple Connect Console screen either in xTuple ERP or the xTuple Connect Batch Manager client and review the information there. In this case, look for jobs whose "Action" type is "RunReport" with "Detail" showing "Report: Invoice". To see jobs which have already been processed, use the "Show Completed Actions" option.